Week 2
On with it.
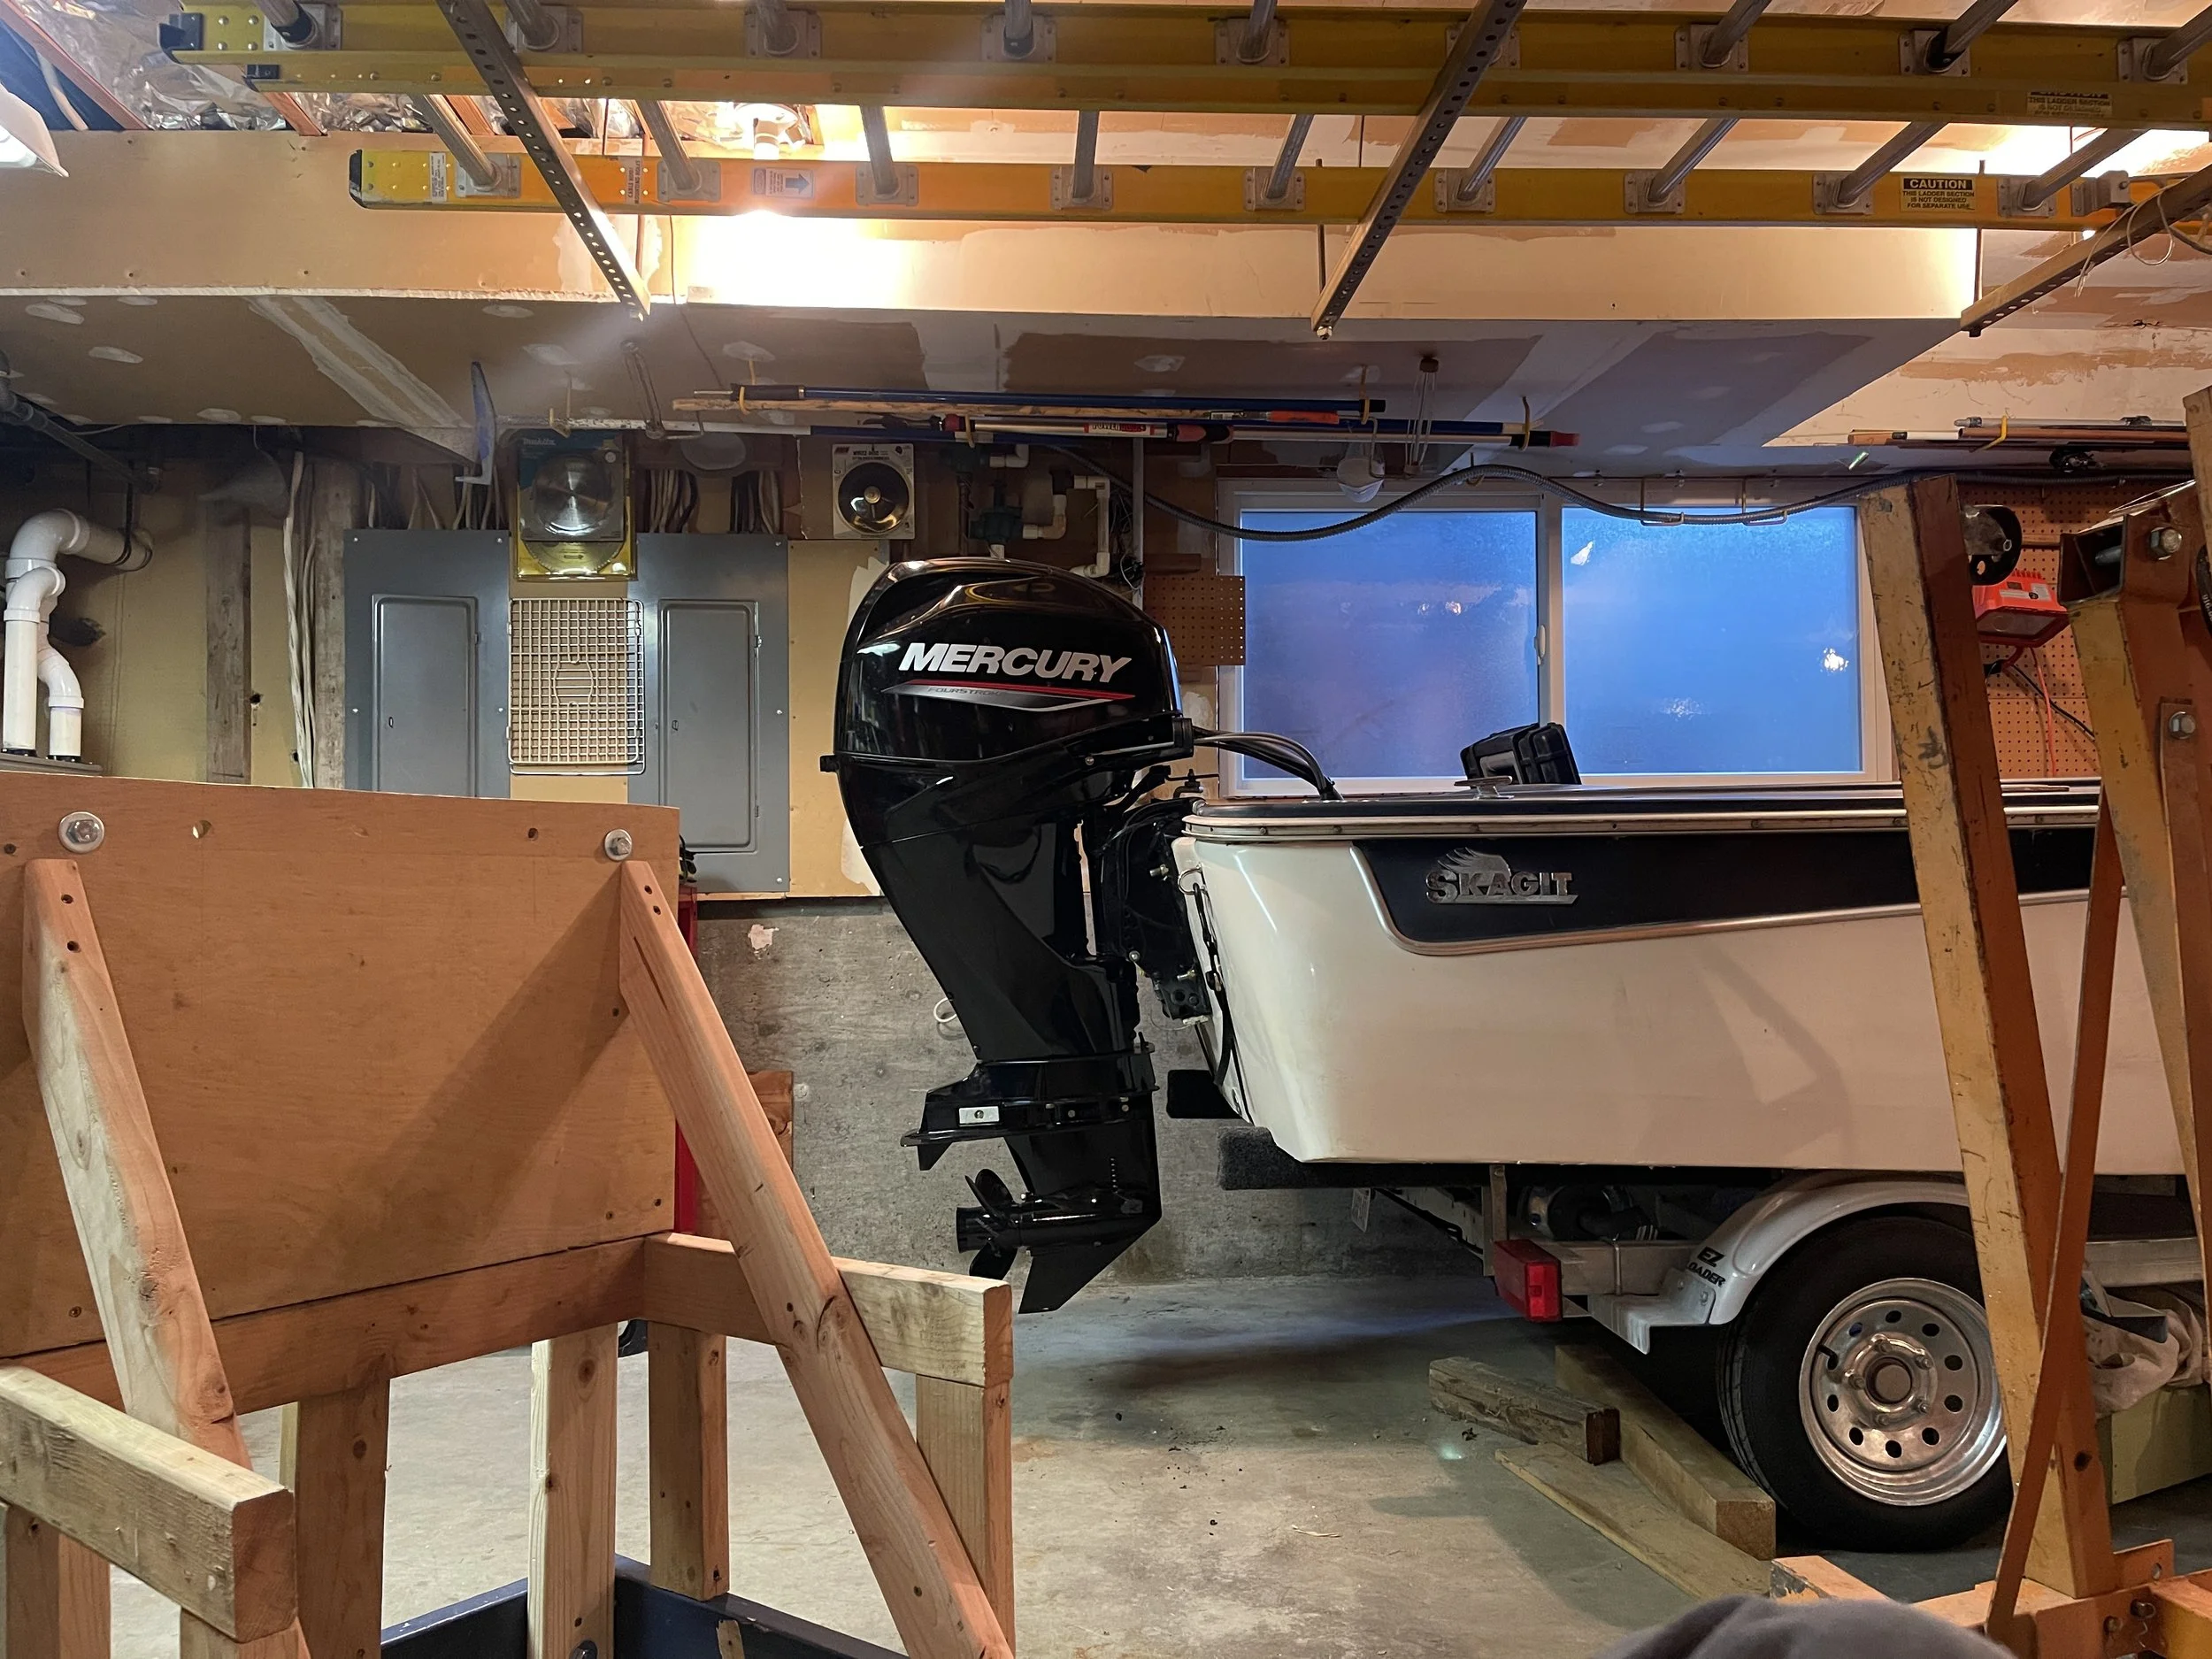
With the initial clean-up wrapped last week, I’ve been able to focus on gathering the rest of tools for the job. The next few weeks are going to be centered around disassembly as well as assessing the structural state of the boat. As I mentioned in the last post, I was able to secure an engine hoist and the the beginnings of a motor stand from some folks at work…
Motor weighs another 75 lbs… but a good test
Not only will the hoist be helpful when removing the outboard, but also for lifting and positioning the hull on the trailer later on. Originally, I was eyeing the tilt-tube as a potential point to separate the motor from transom bracket. I didn’t want to mess with taking the bolts out in fear of cracking the transom, but as I found out, there was a far scarier prospect weaving its way through the engine cover that made the initial option a no-go. I traced the cable that powers the power-tilt and trim up through a hole on transom bracket where it continued into the engine enclosure via a rubber grommet.
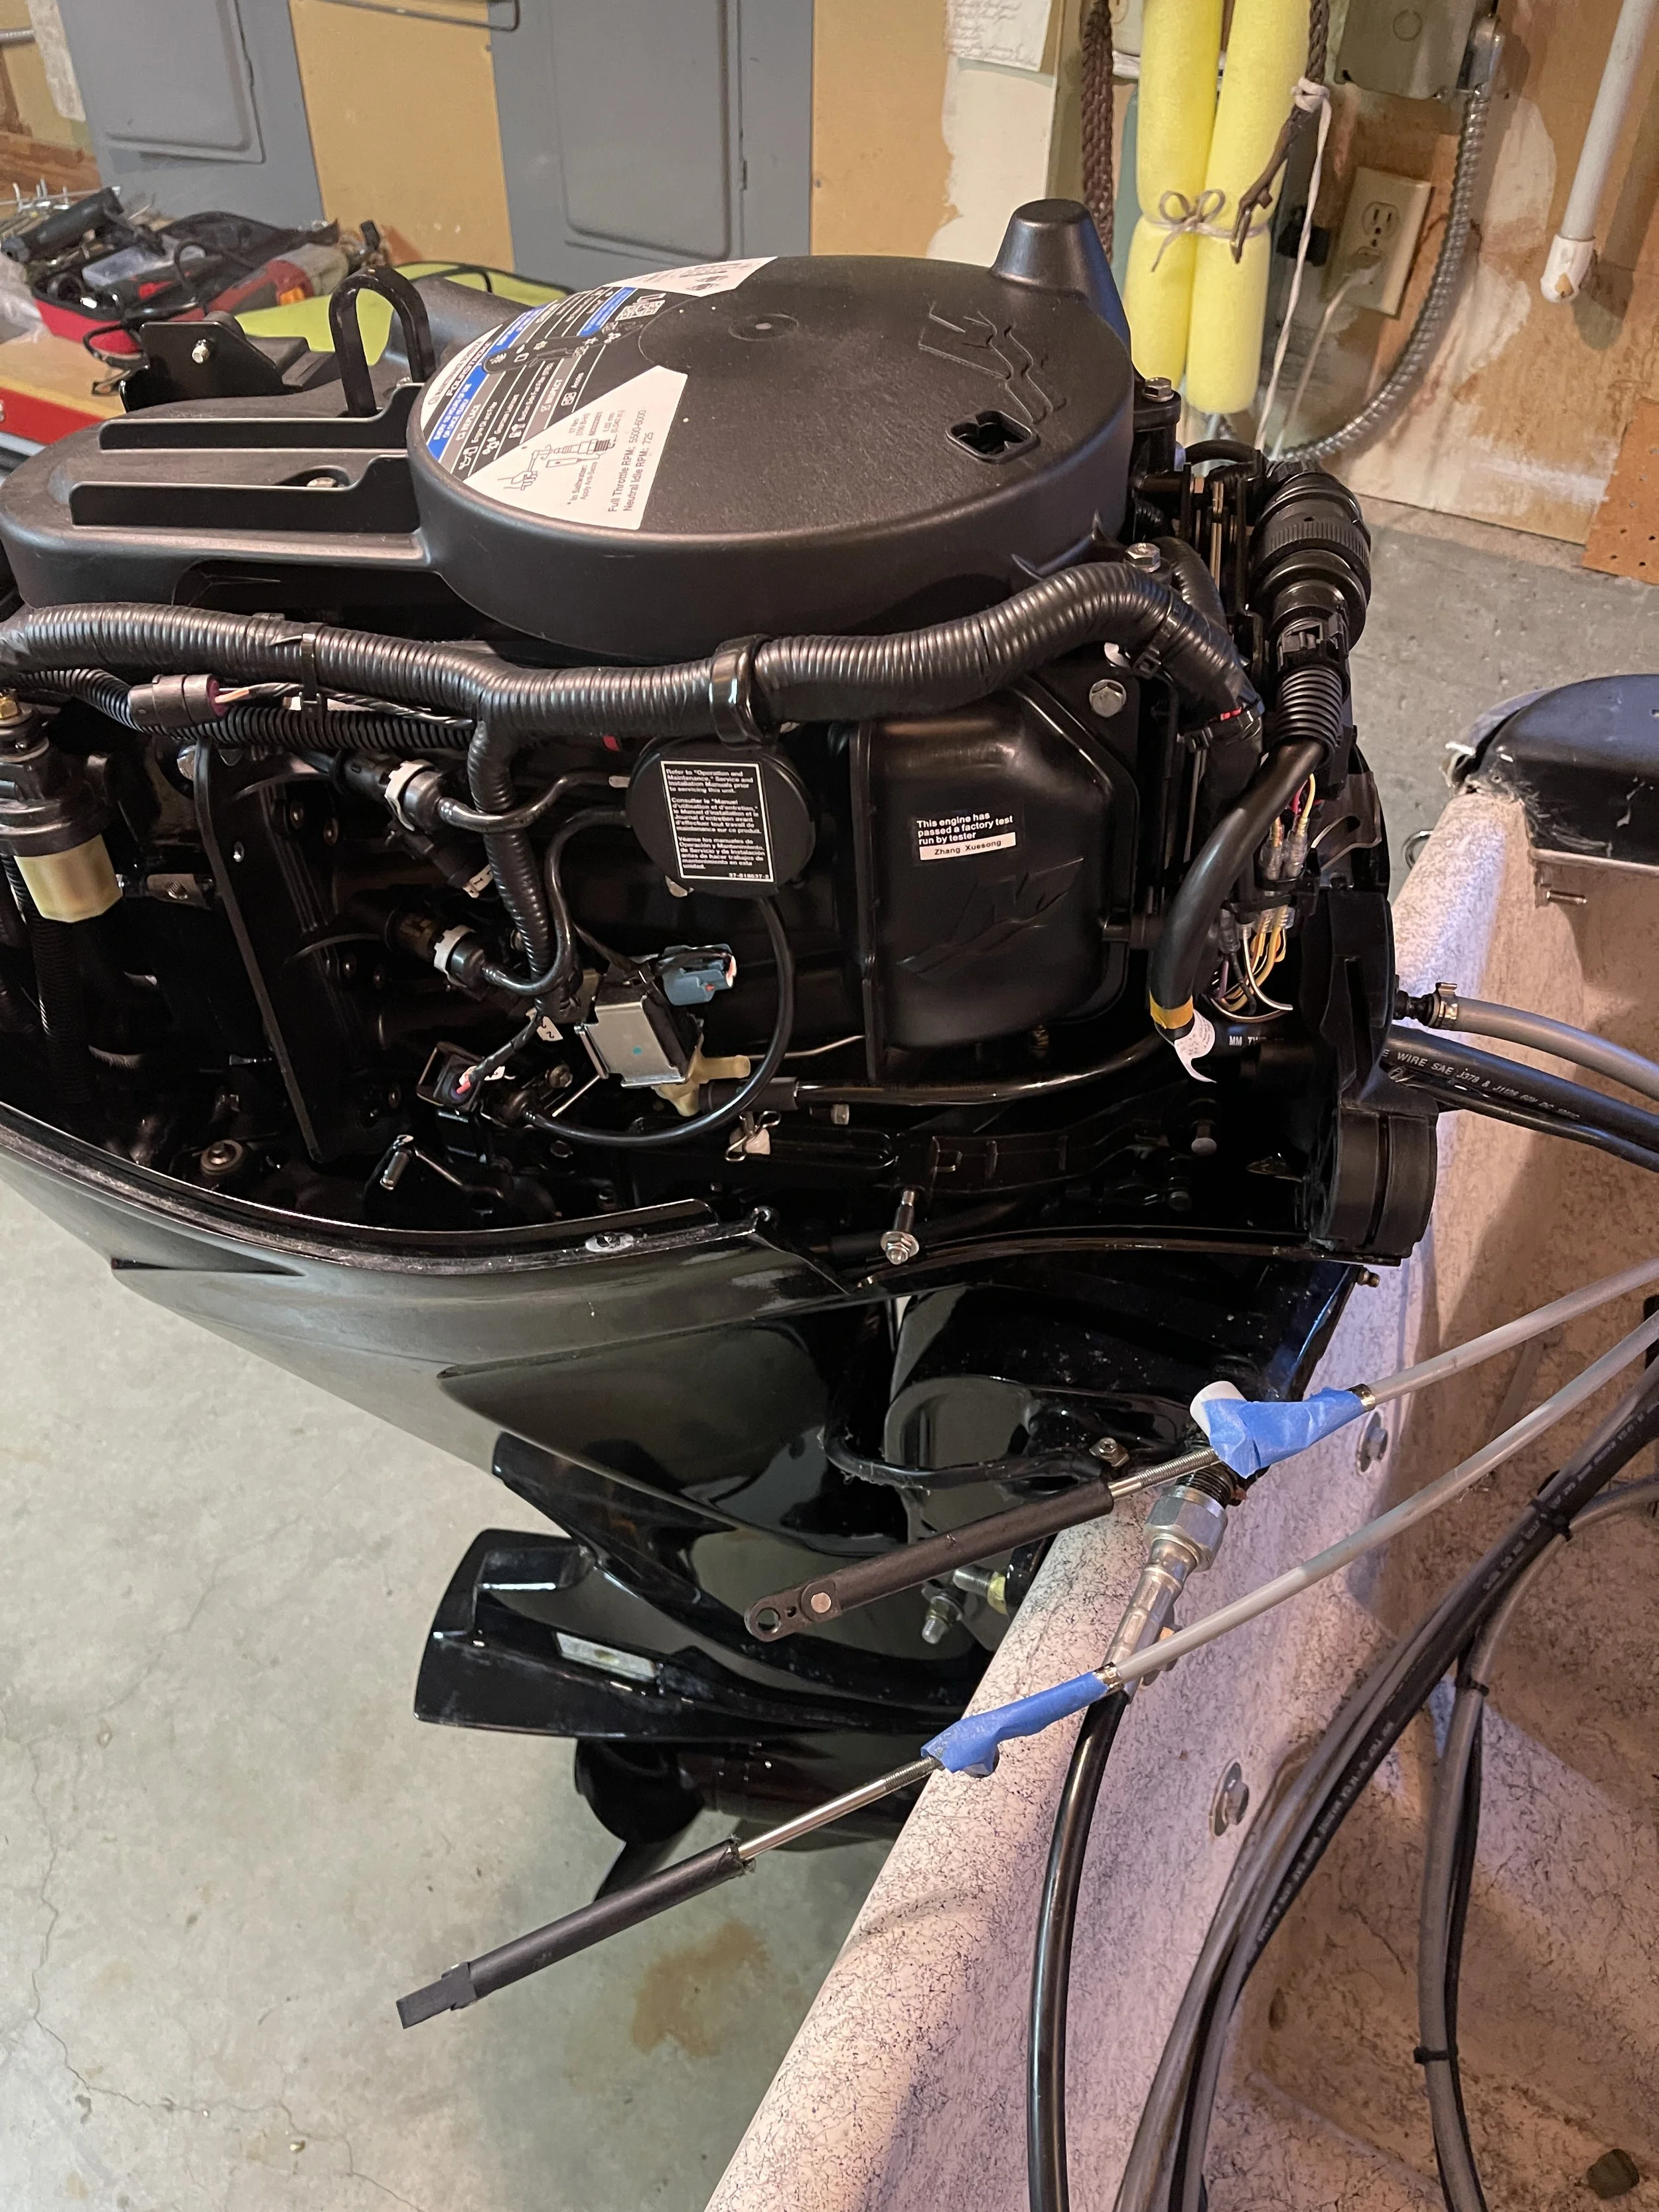

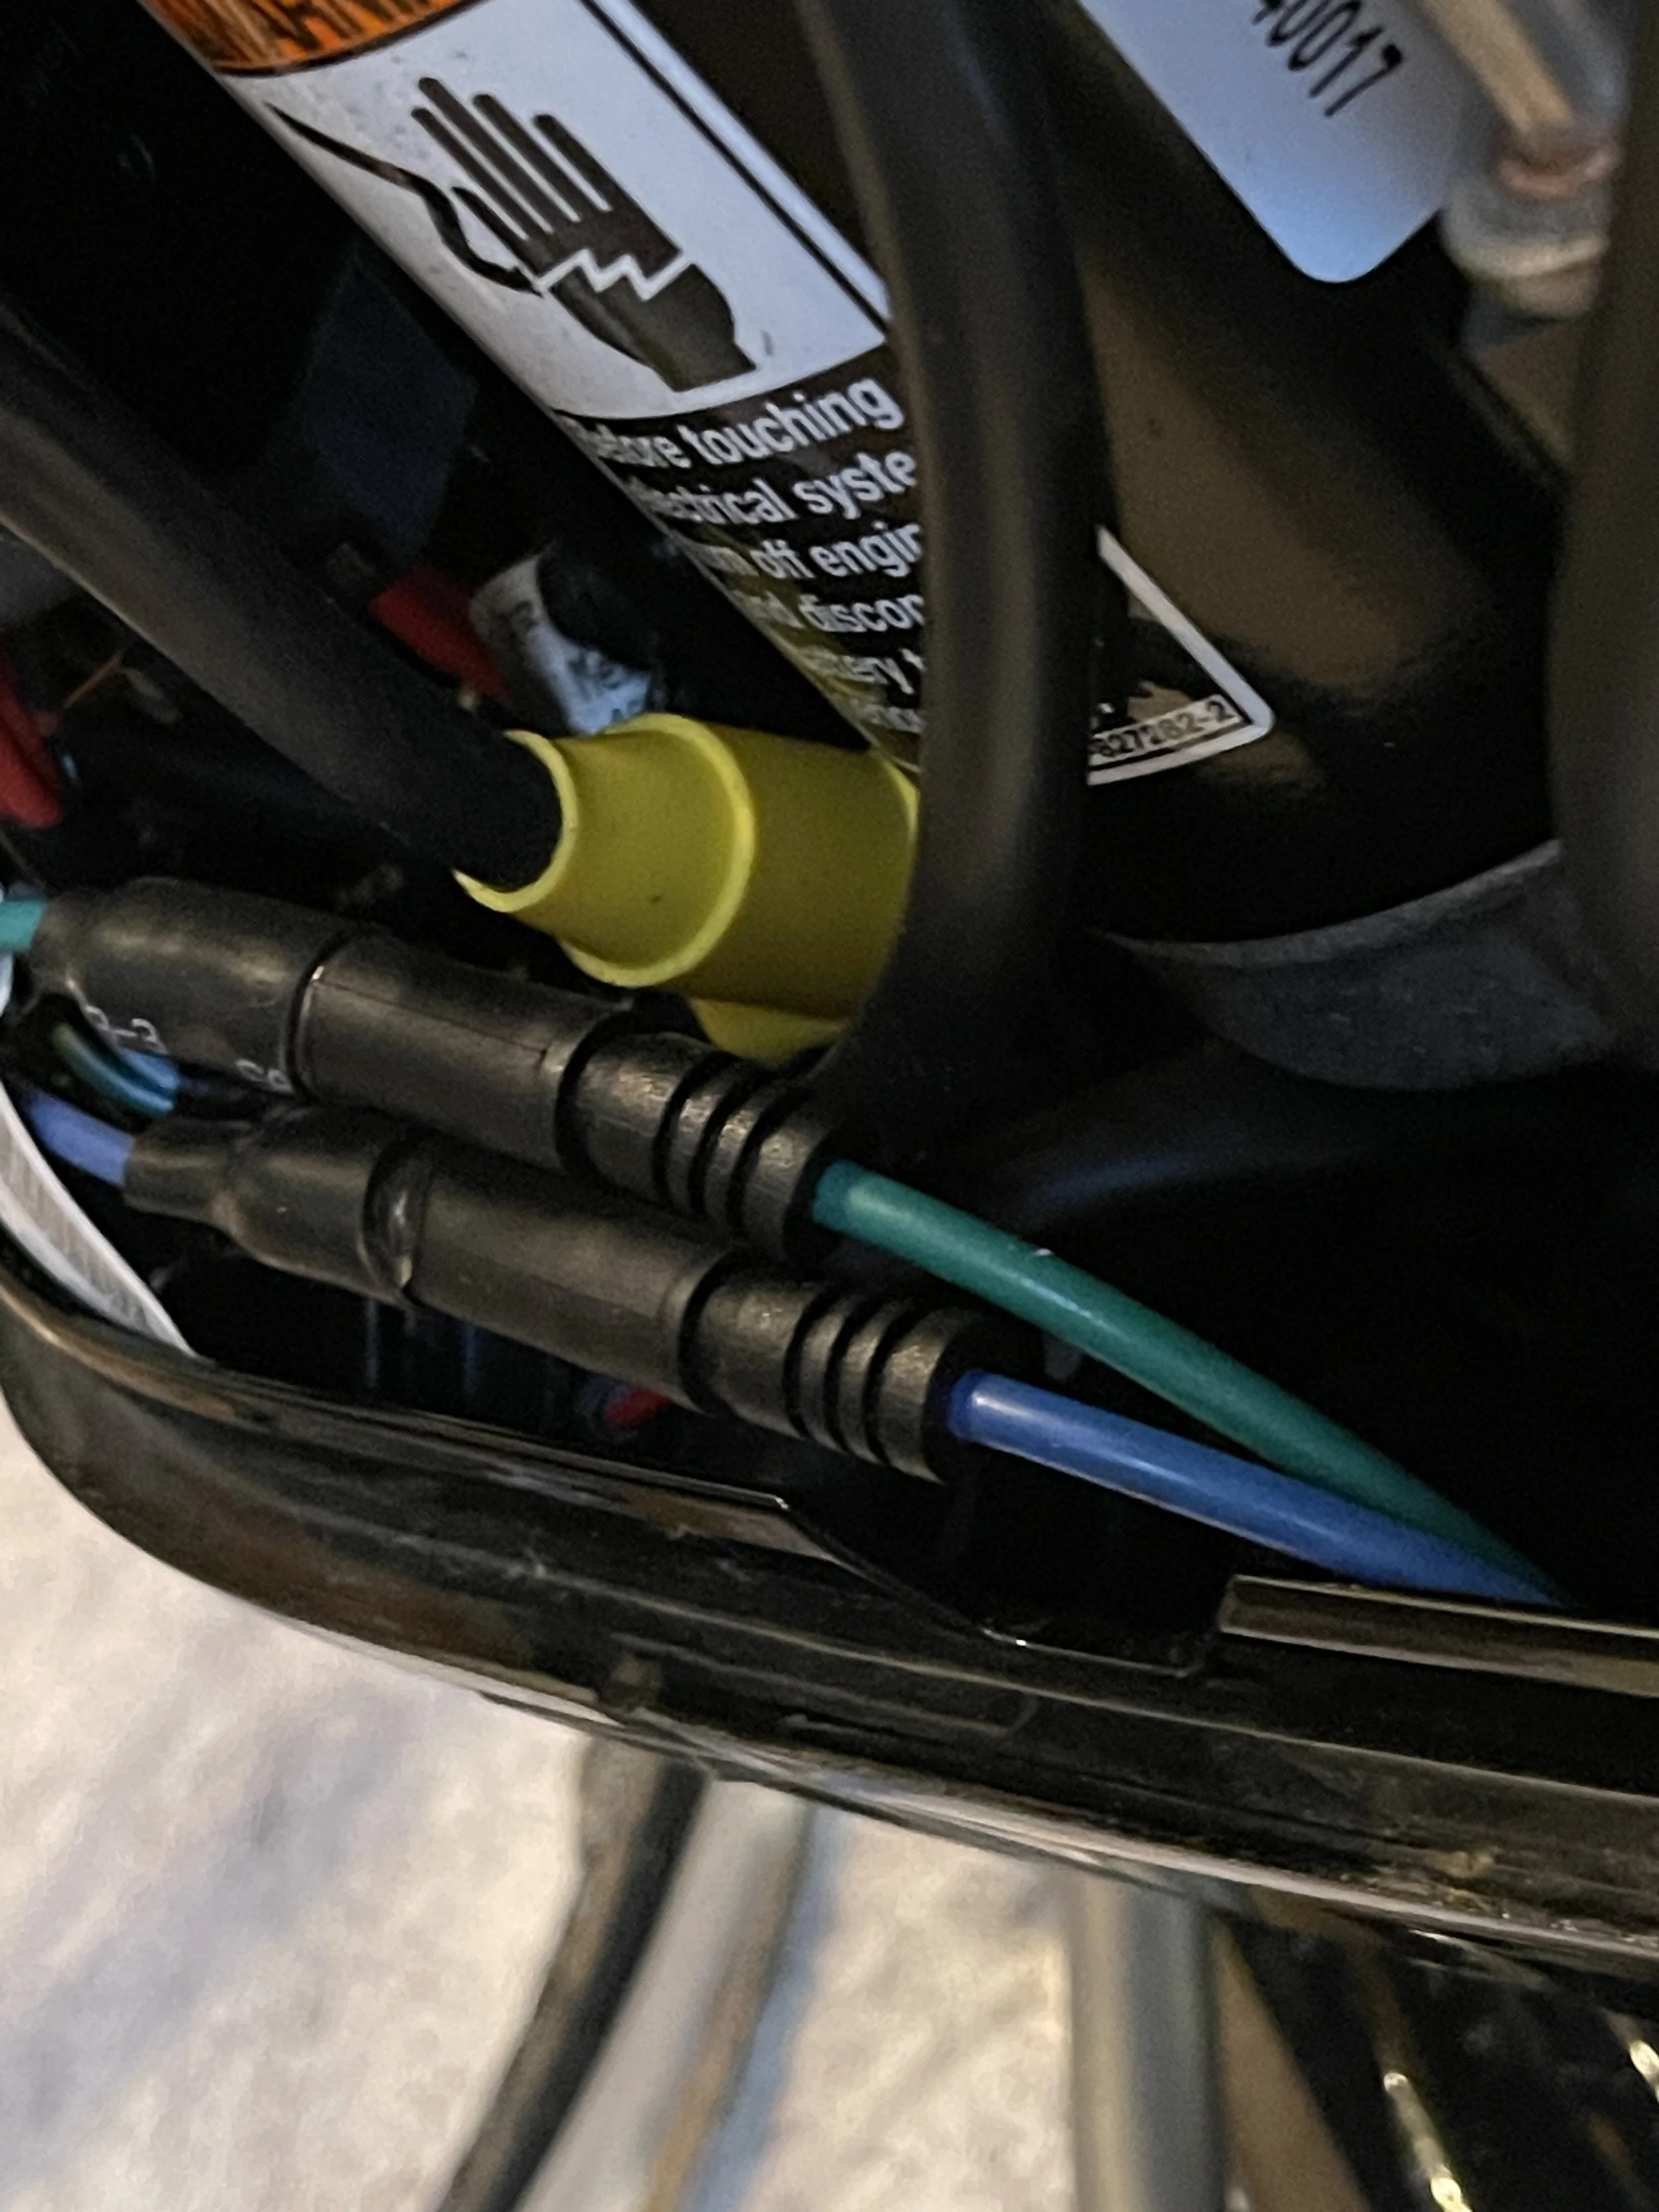
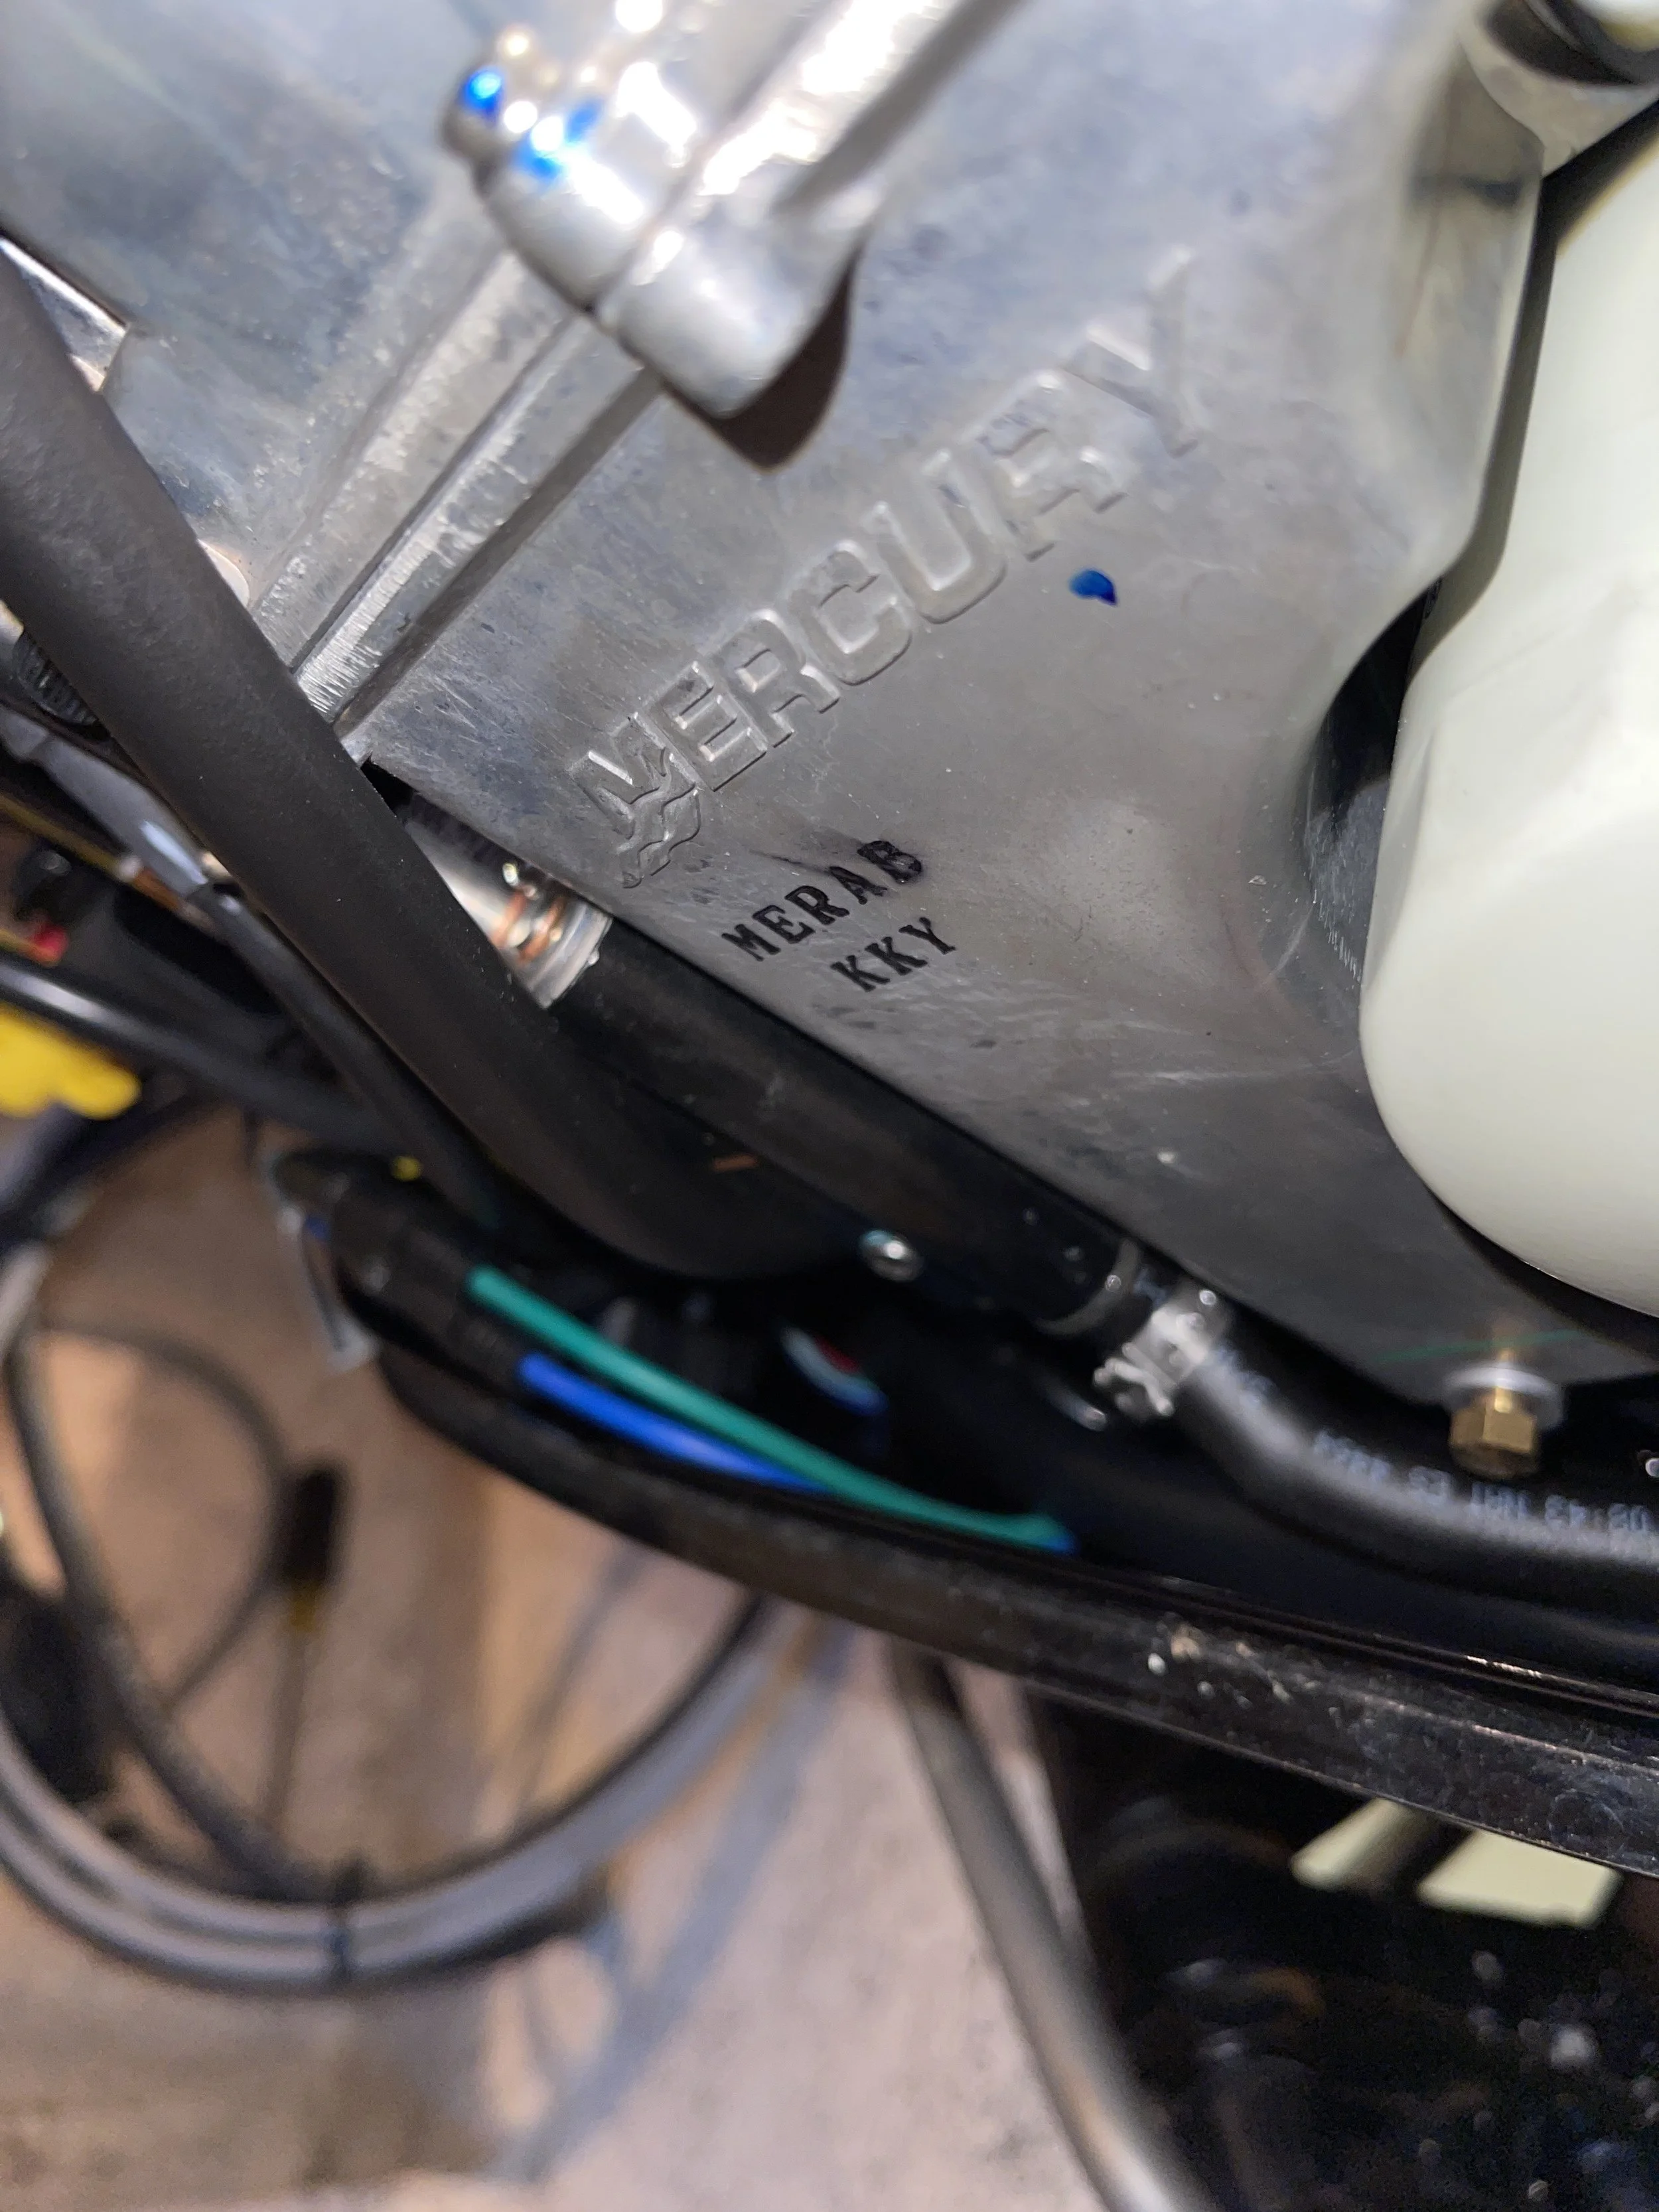
At first I thought this wouldn’t be a problem since the cable appeared to enter the engine case where several electrical connectors were housed. I was expecting to see the connector on the other side of that grommet…. but as it turned out, the cable made an IMMEDIATE turn to port and disappeared under the engine block. With the shift linkage and other bits of engine stuff in the way, I had no chance at getting a finger even close to the cables - unless they were like 10 inches long. Moving to the other side, I saw the blue and green wires re-appear from the depths of the engine. Once again, I thought this would be no problem because I could just undo the barrel-connectors and snake it back through; however, I evaluated the nightmare that could open up if the connectors got stuck somewhere along the way. So, I ultimately decided that I don’t want to rewire my motor at the end of this project.
I’ll save my rant for the Mercury engineer who designed that routing for later…
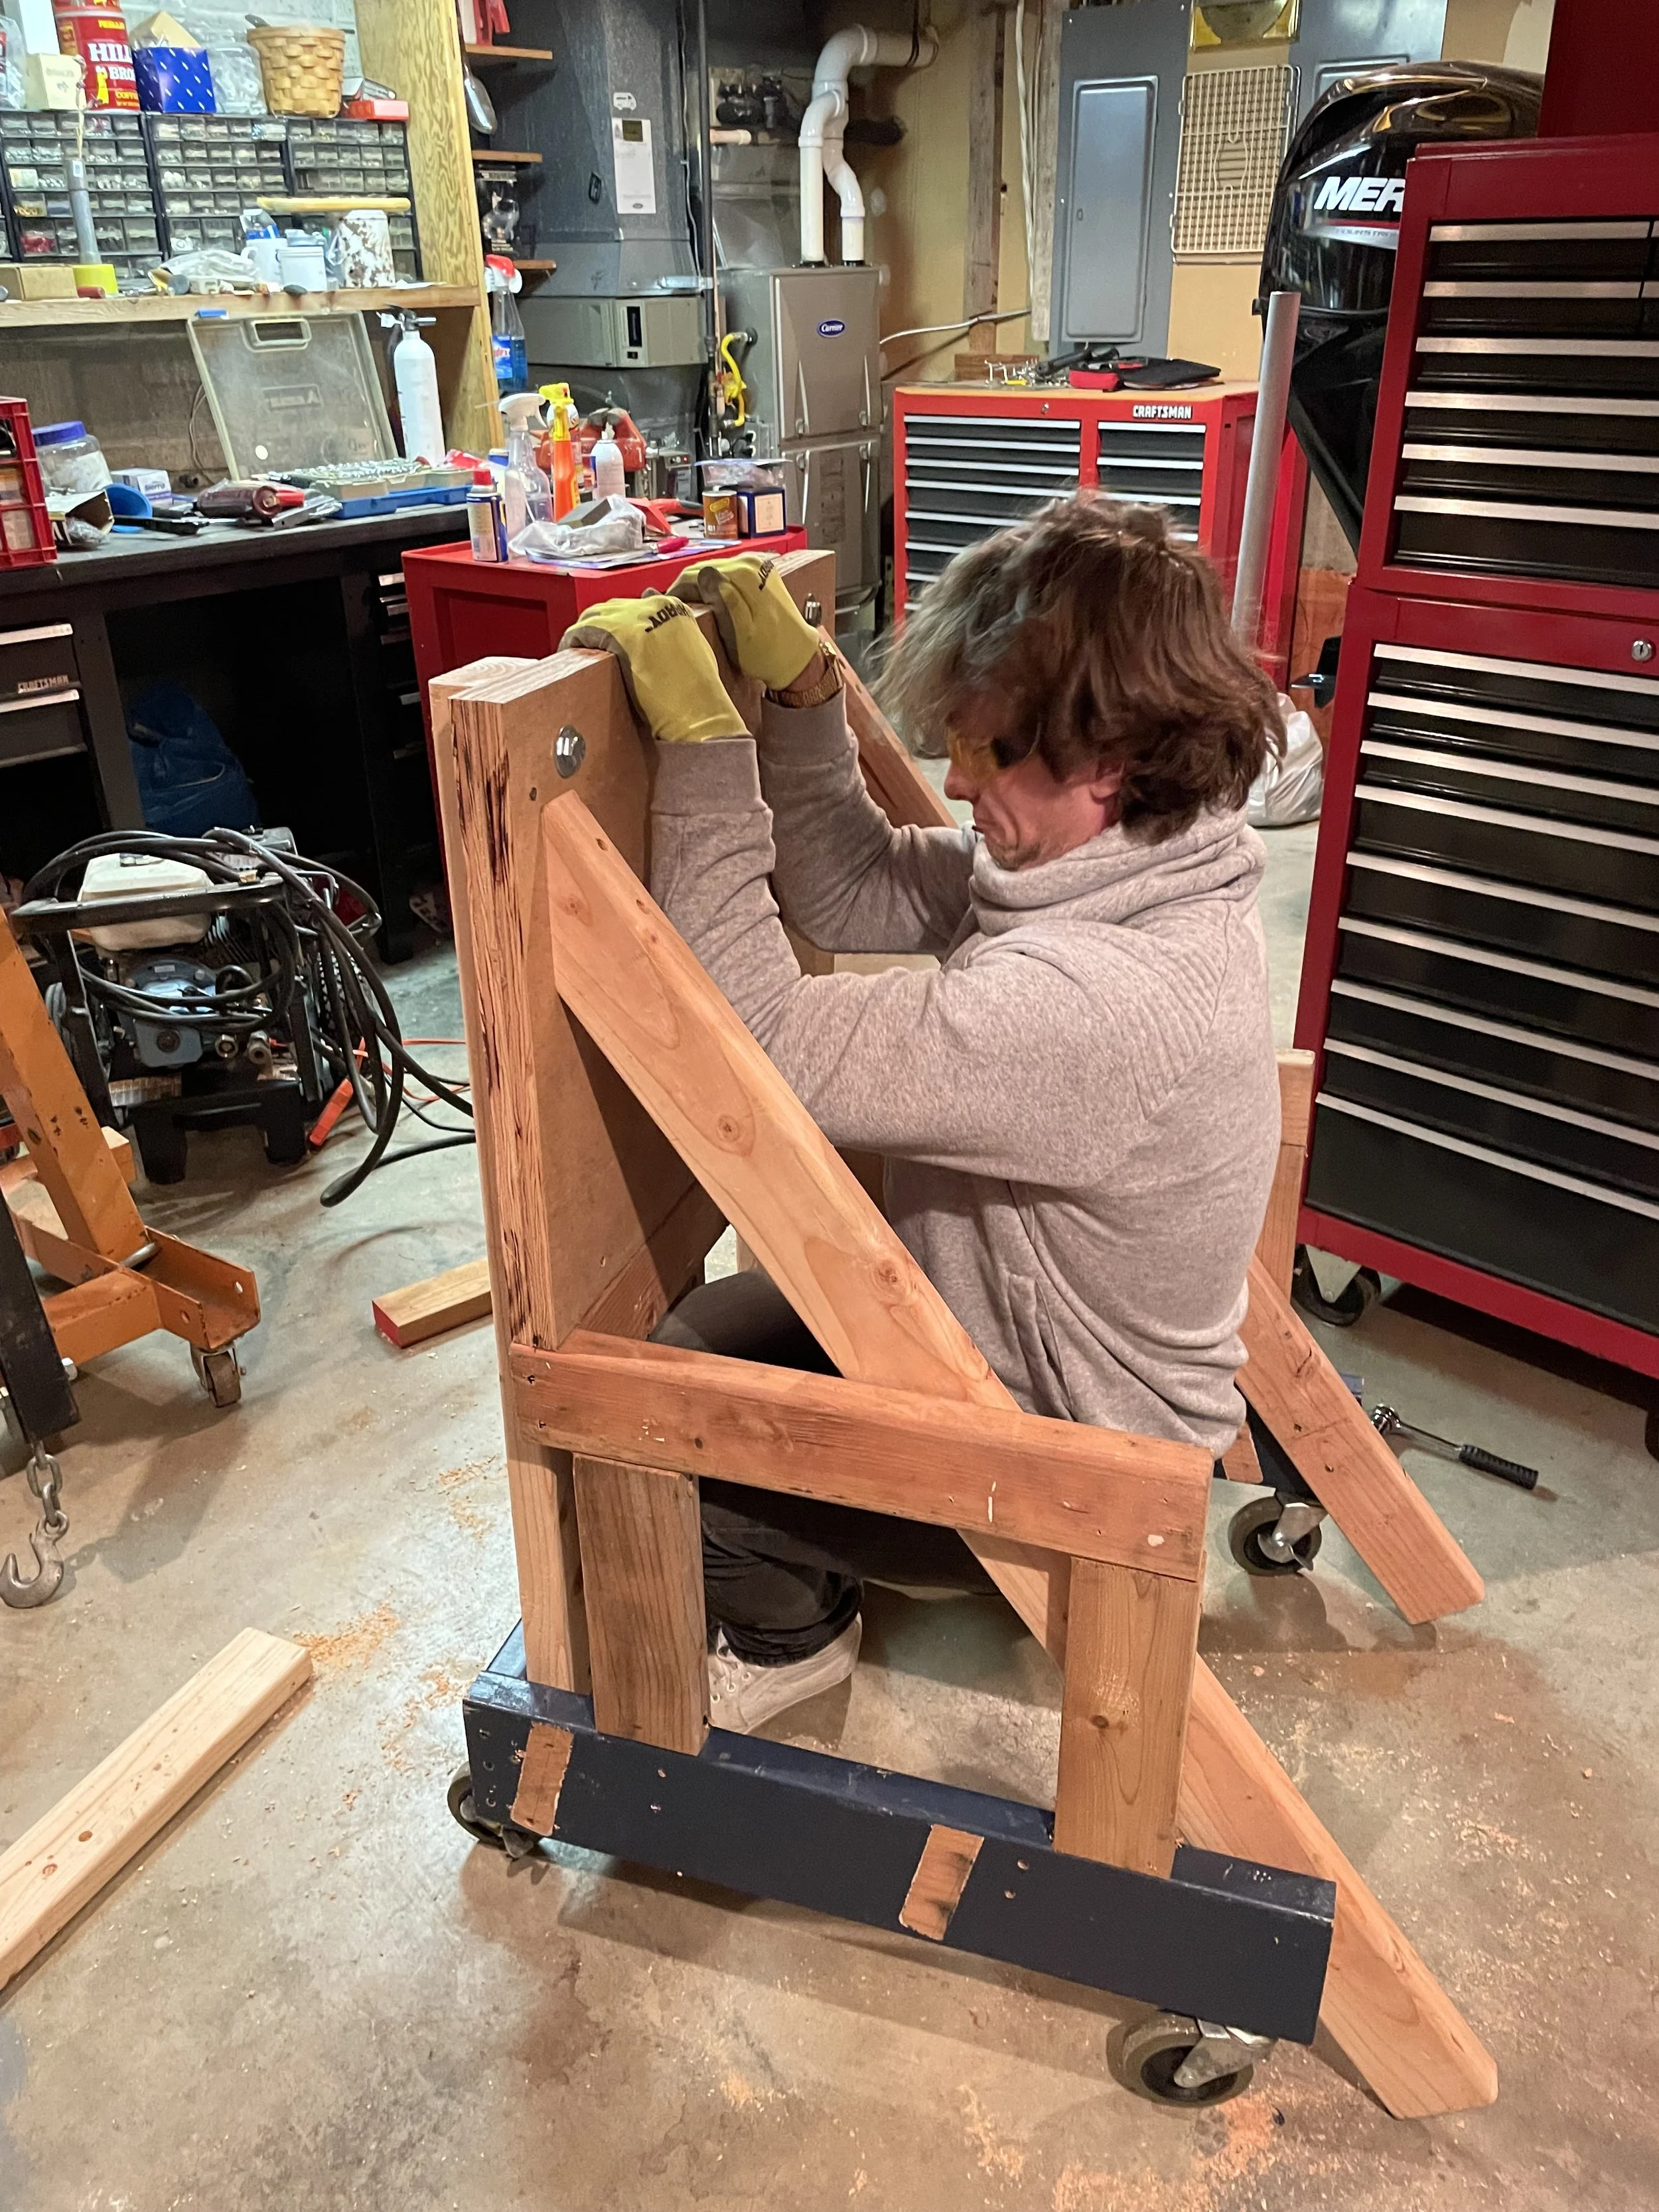
The next day I went over to the hardware store to buy lumber to support the engine buck. I needed some larger bolts to hold the engine mounting plate on ….blah blah… I made it. Thanks to my dad for helping my hold some stuff while I screwed it all together.
In order to stay on schedule, the motor had to come off the next day. I made sure the buck was situated adjacent to the boat and made sure I could do some quick draw on my mounting bolts once I got the hoist repositioned.
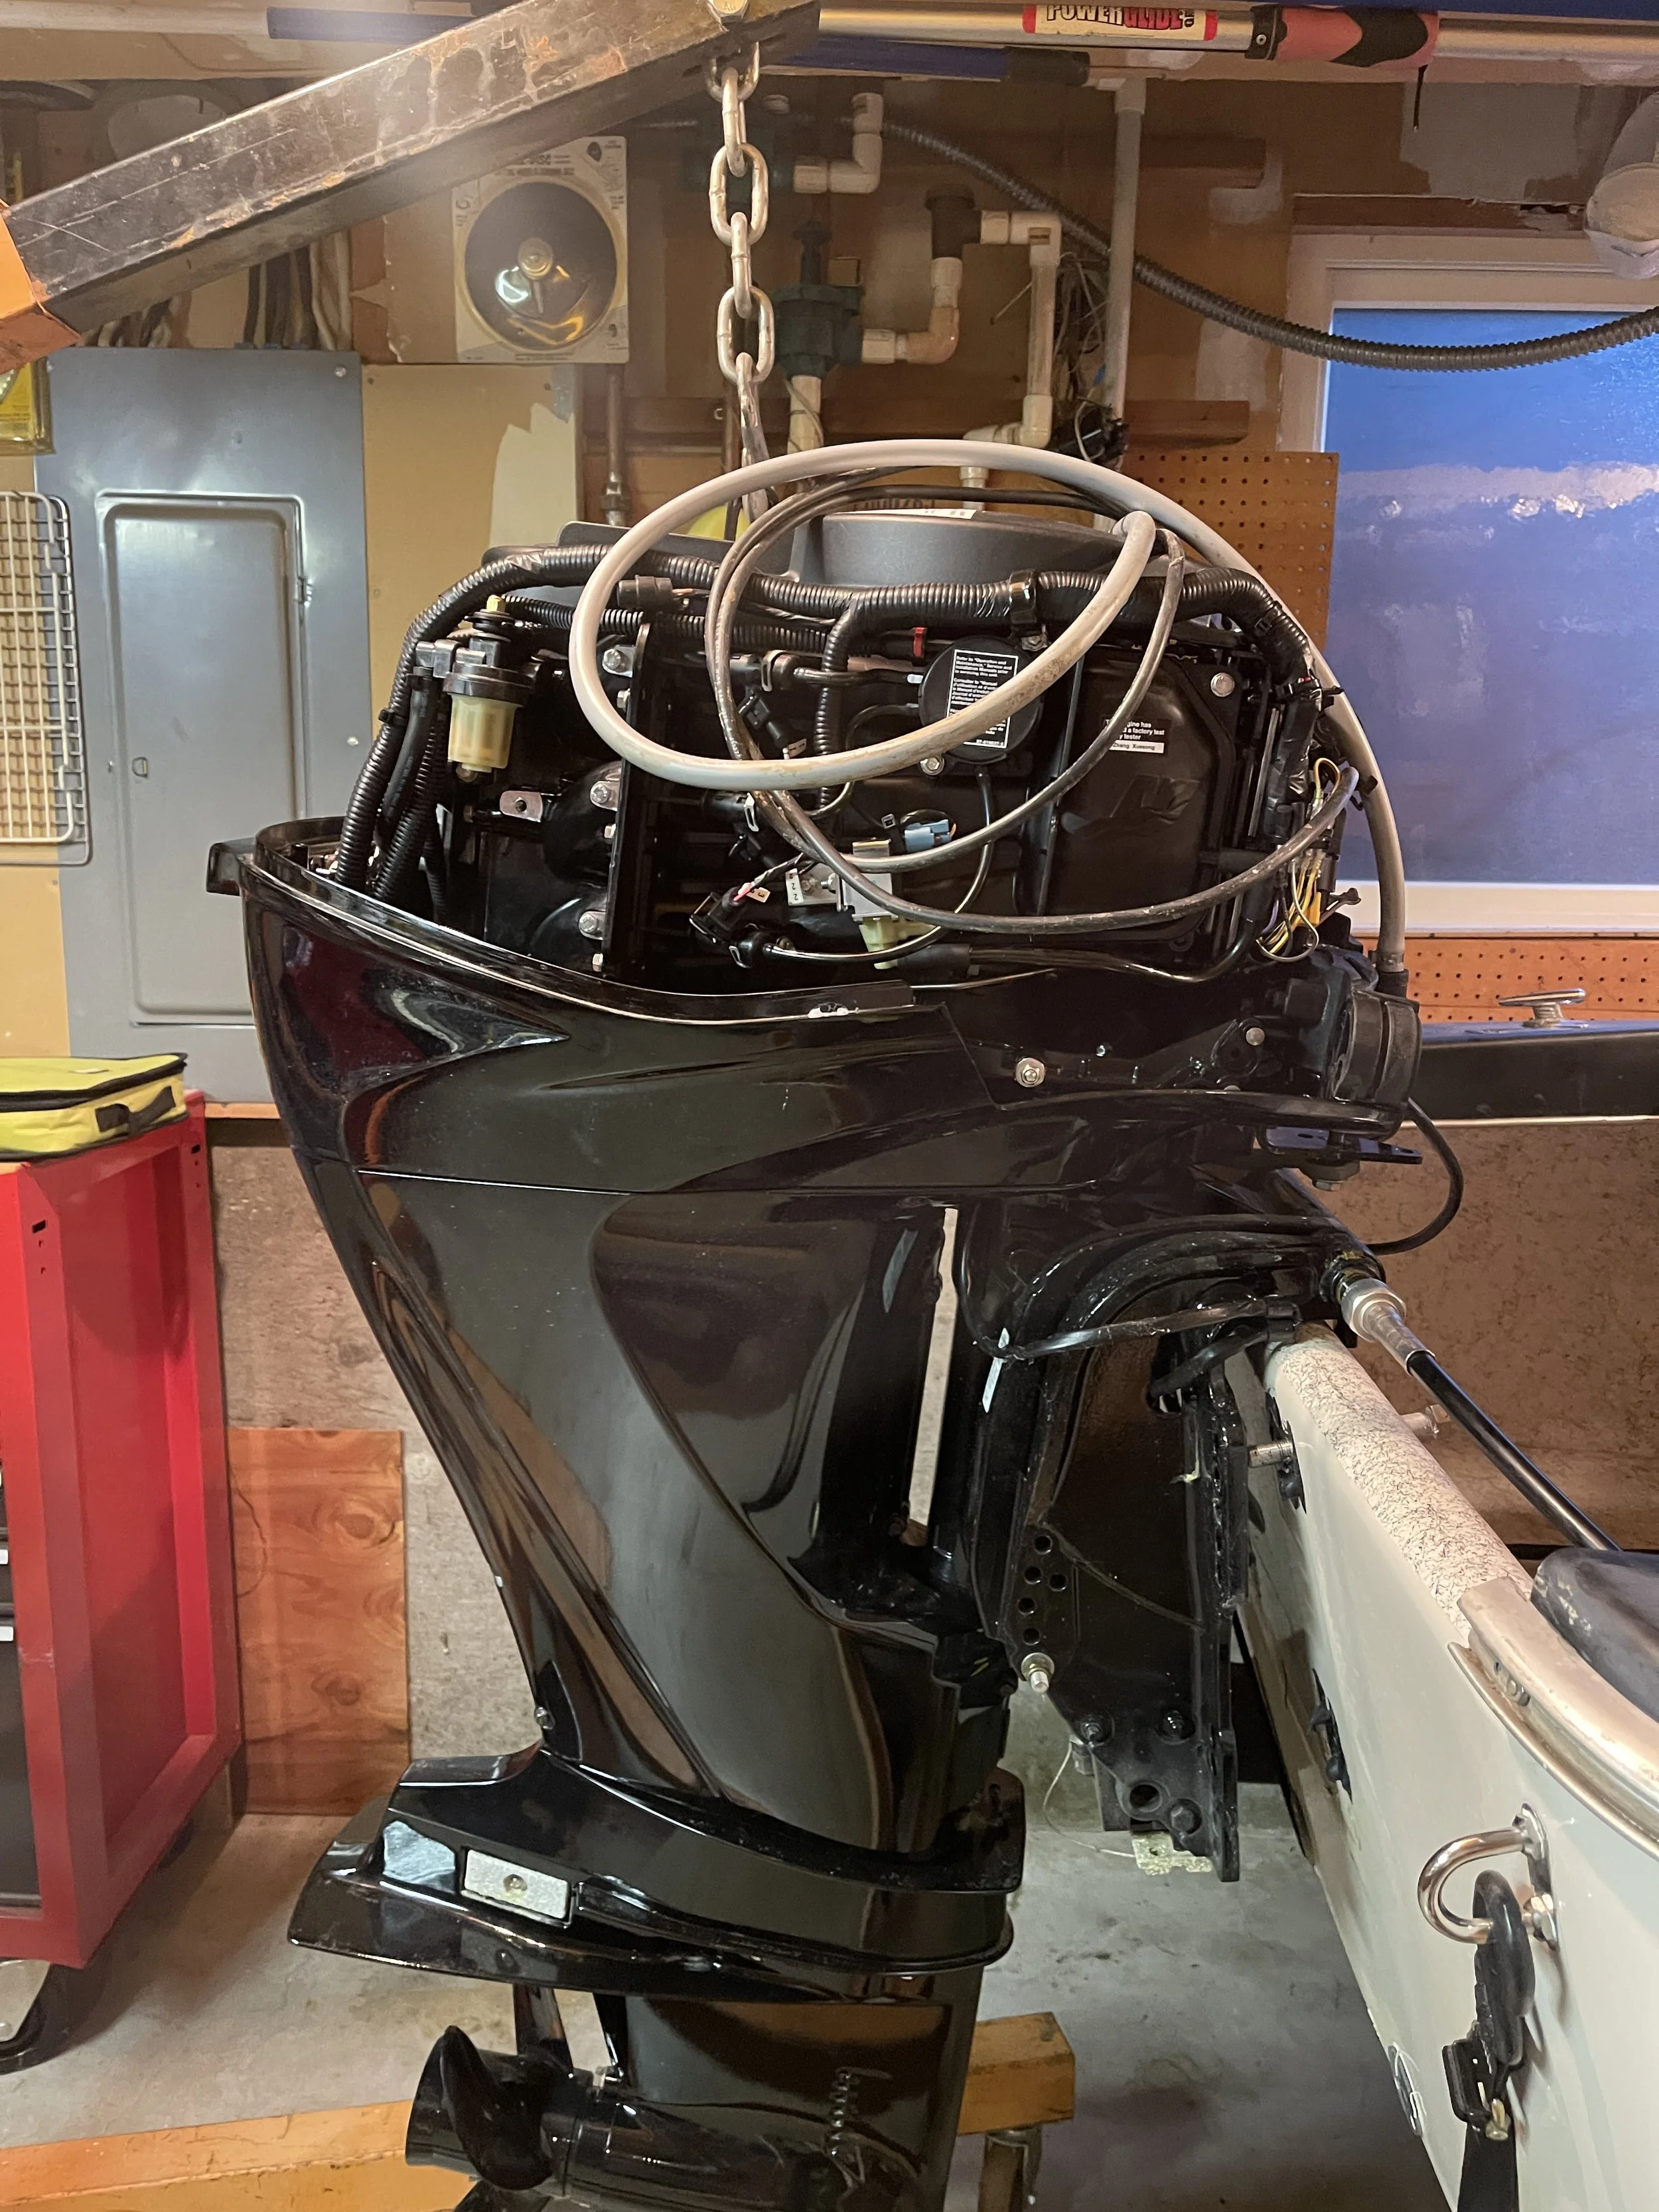
I undid all of the connections for the throttle, wiring harness, transmission and the other goodies. I hooked the hoist up to the lift eye on the engine and started the slow process of bringing the motor up. At this point I should add that I found out the sealant applied between the transom bracket and the transom peeled away with very little effort, making my original concern about having to pry the motor off the transom a false alarm.
The four big bolts holding the bracket on came out relatively smoothly - although covered in some of the sealant. I was able to clean them up with some scotch bright pads after pulling them out. I scooched the motor away from the transom and over to the middle of the garage where I had my motor stand waiting….
This is where things got a bit hairy. I did all the measurements for the stand - vertical adjustment, the bolt pattern offset… width of the motor… but I did not account for the width of the stand fitting under the v-shaped base of the hoist.
I laughed…. with a very concerned look on my face... here I have one of the most expensive things on the boat - pretty much new - dangling from an old hoist without a place to put it. Narrowing the stand was out of the question - too tippy. Wider meant I couldn’t bring it through a door way…
I ended up setting one of the legs up and over the lip of the hoist - effectively positioning the stand so it was straddling one leg the hoist. After I got things bolted together, I carefully lowered the boom a bit….then shimmied the motor back… after repeating that process for a few tense minutes I finally set the motor and stand down on all four wheels and gently set it aside.
With that done, the motor was mostly constrained. The motor was still able to pivot about the steering column. While statically not an issue, if I wanted to move it around the garage, the motor could swing and maybe topple over. A few blocks on either side of the motor did the trick.
Thank you to my grandma for holding the engine straight while I fastened some blocks to either side of the motor.
Building some sort of ramp and platform for the motor stand is going to be a must when reinstalling the motor at the end of this project..
Good and bad news is that there’s a lot of work between me and that day.
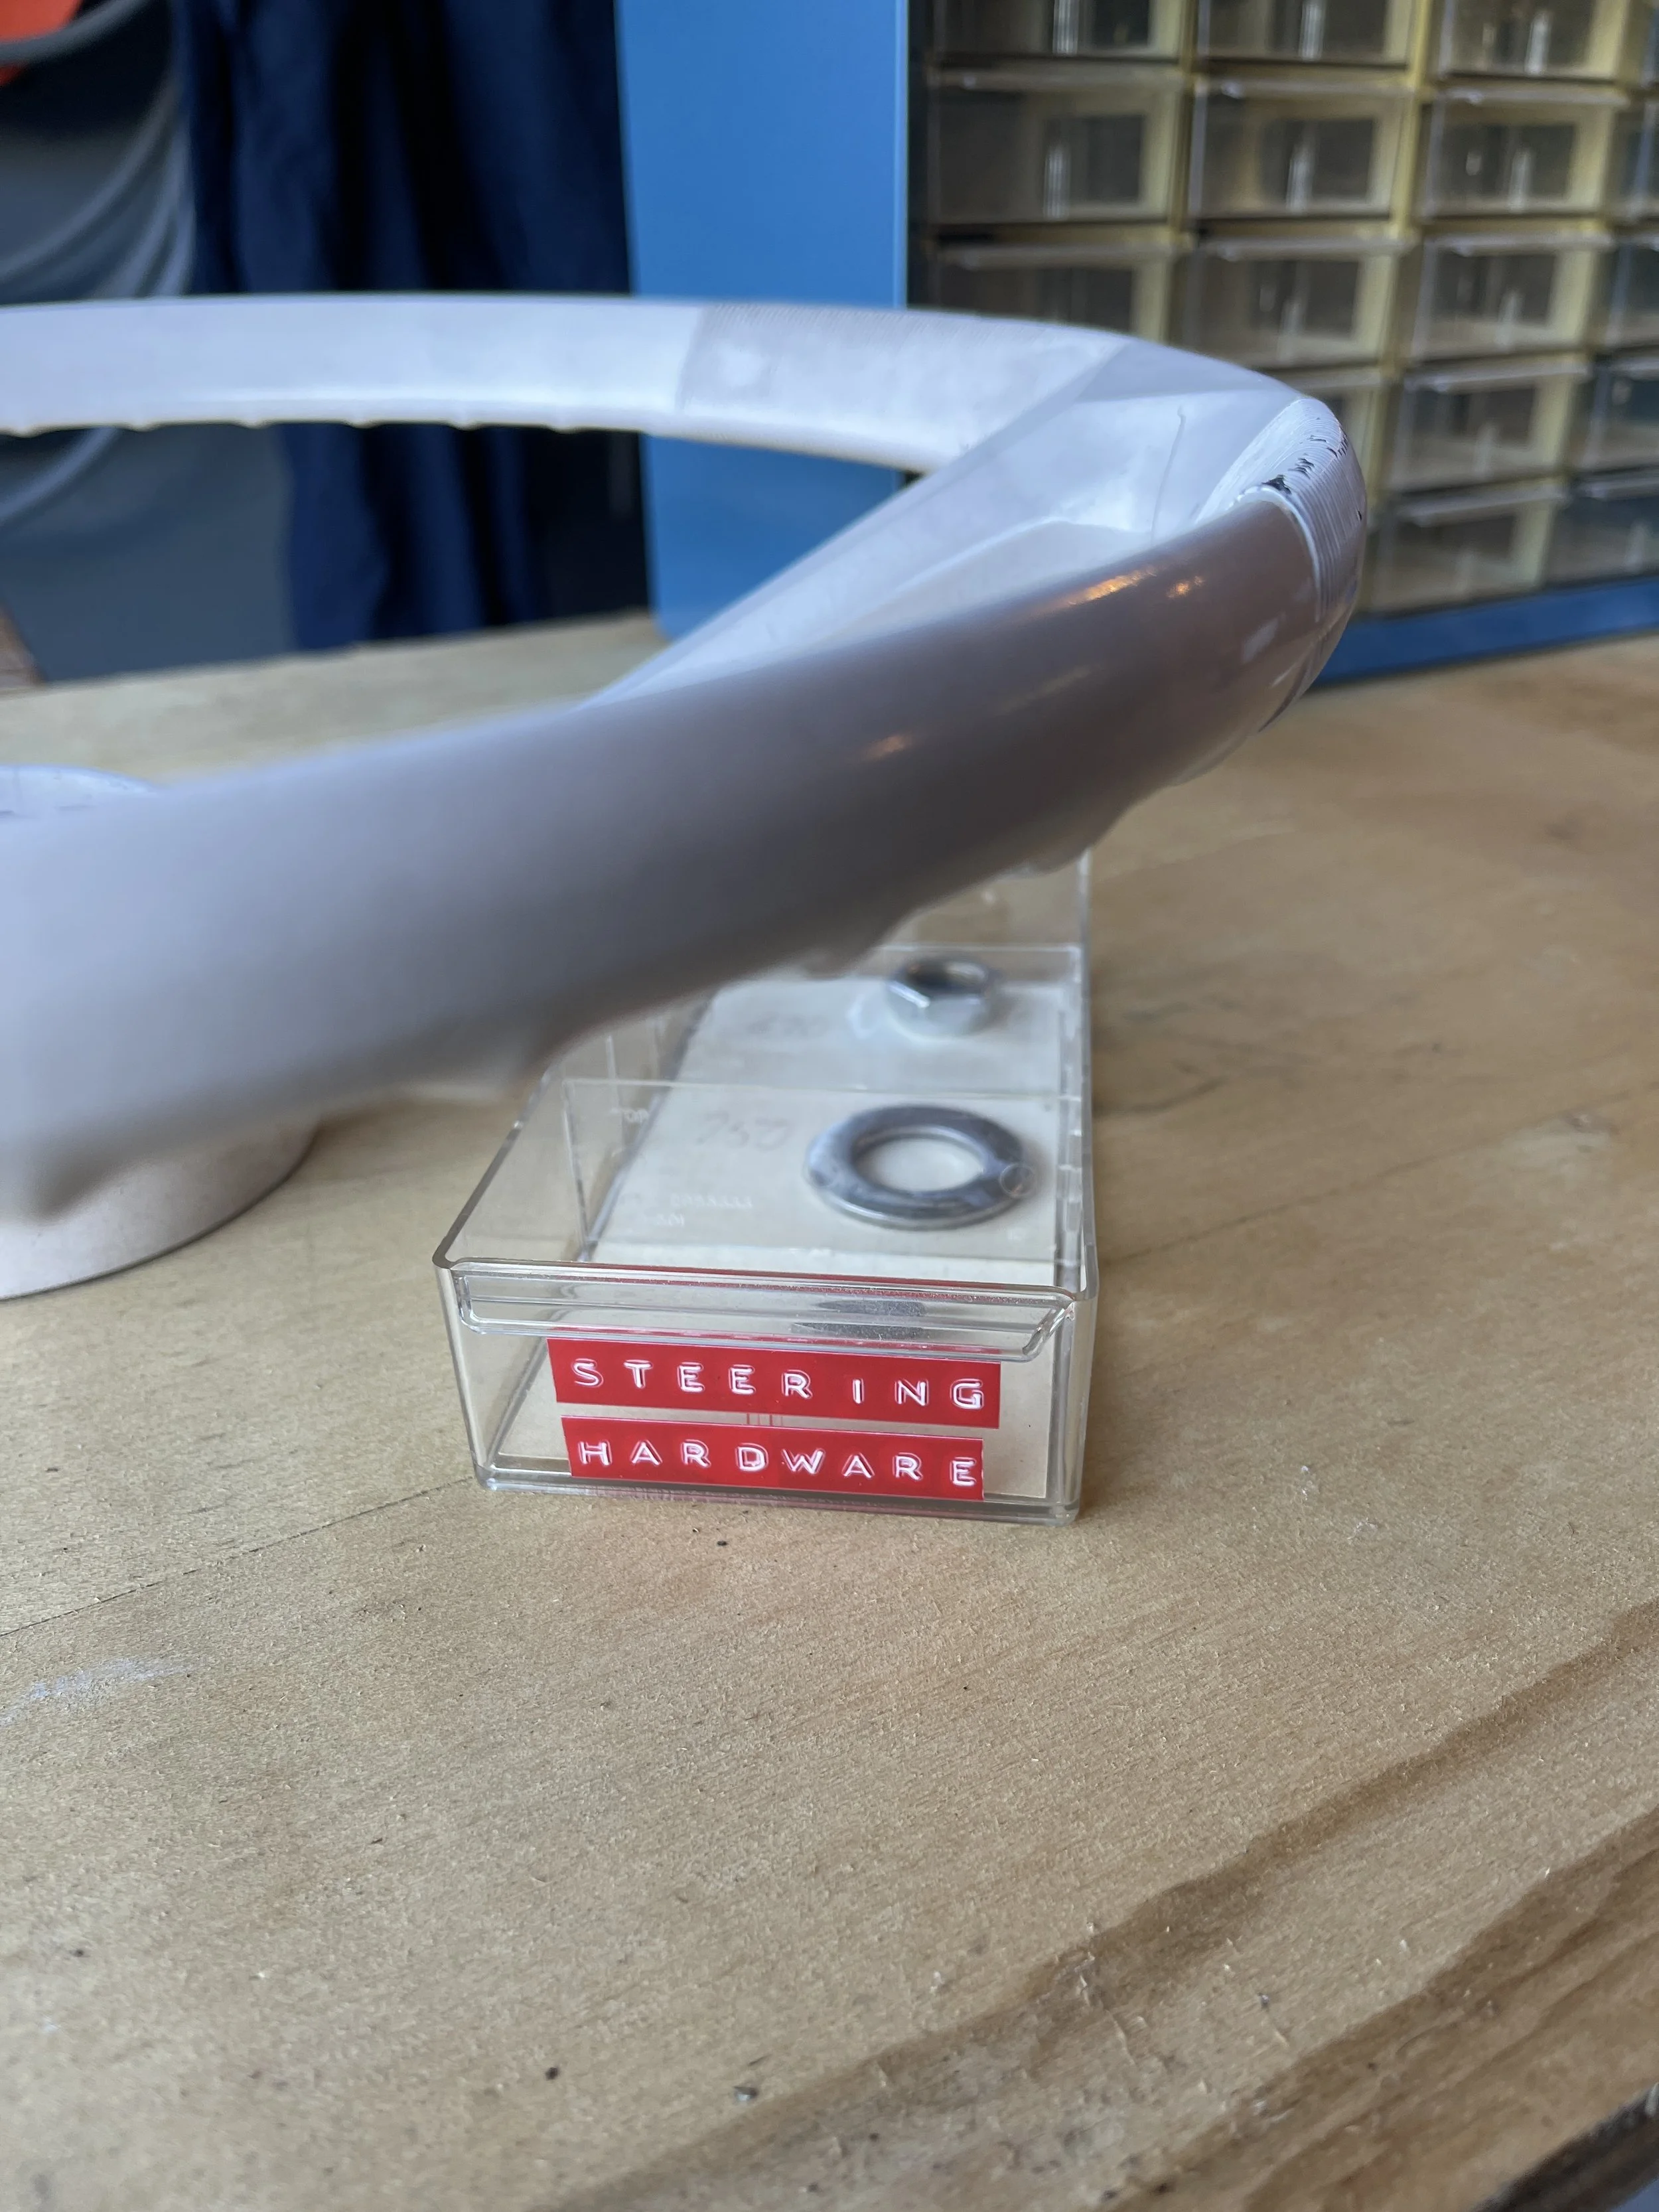
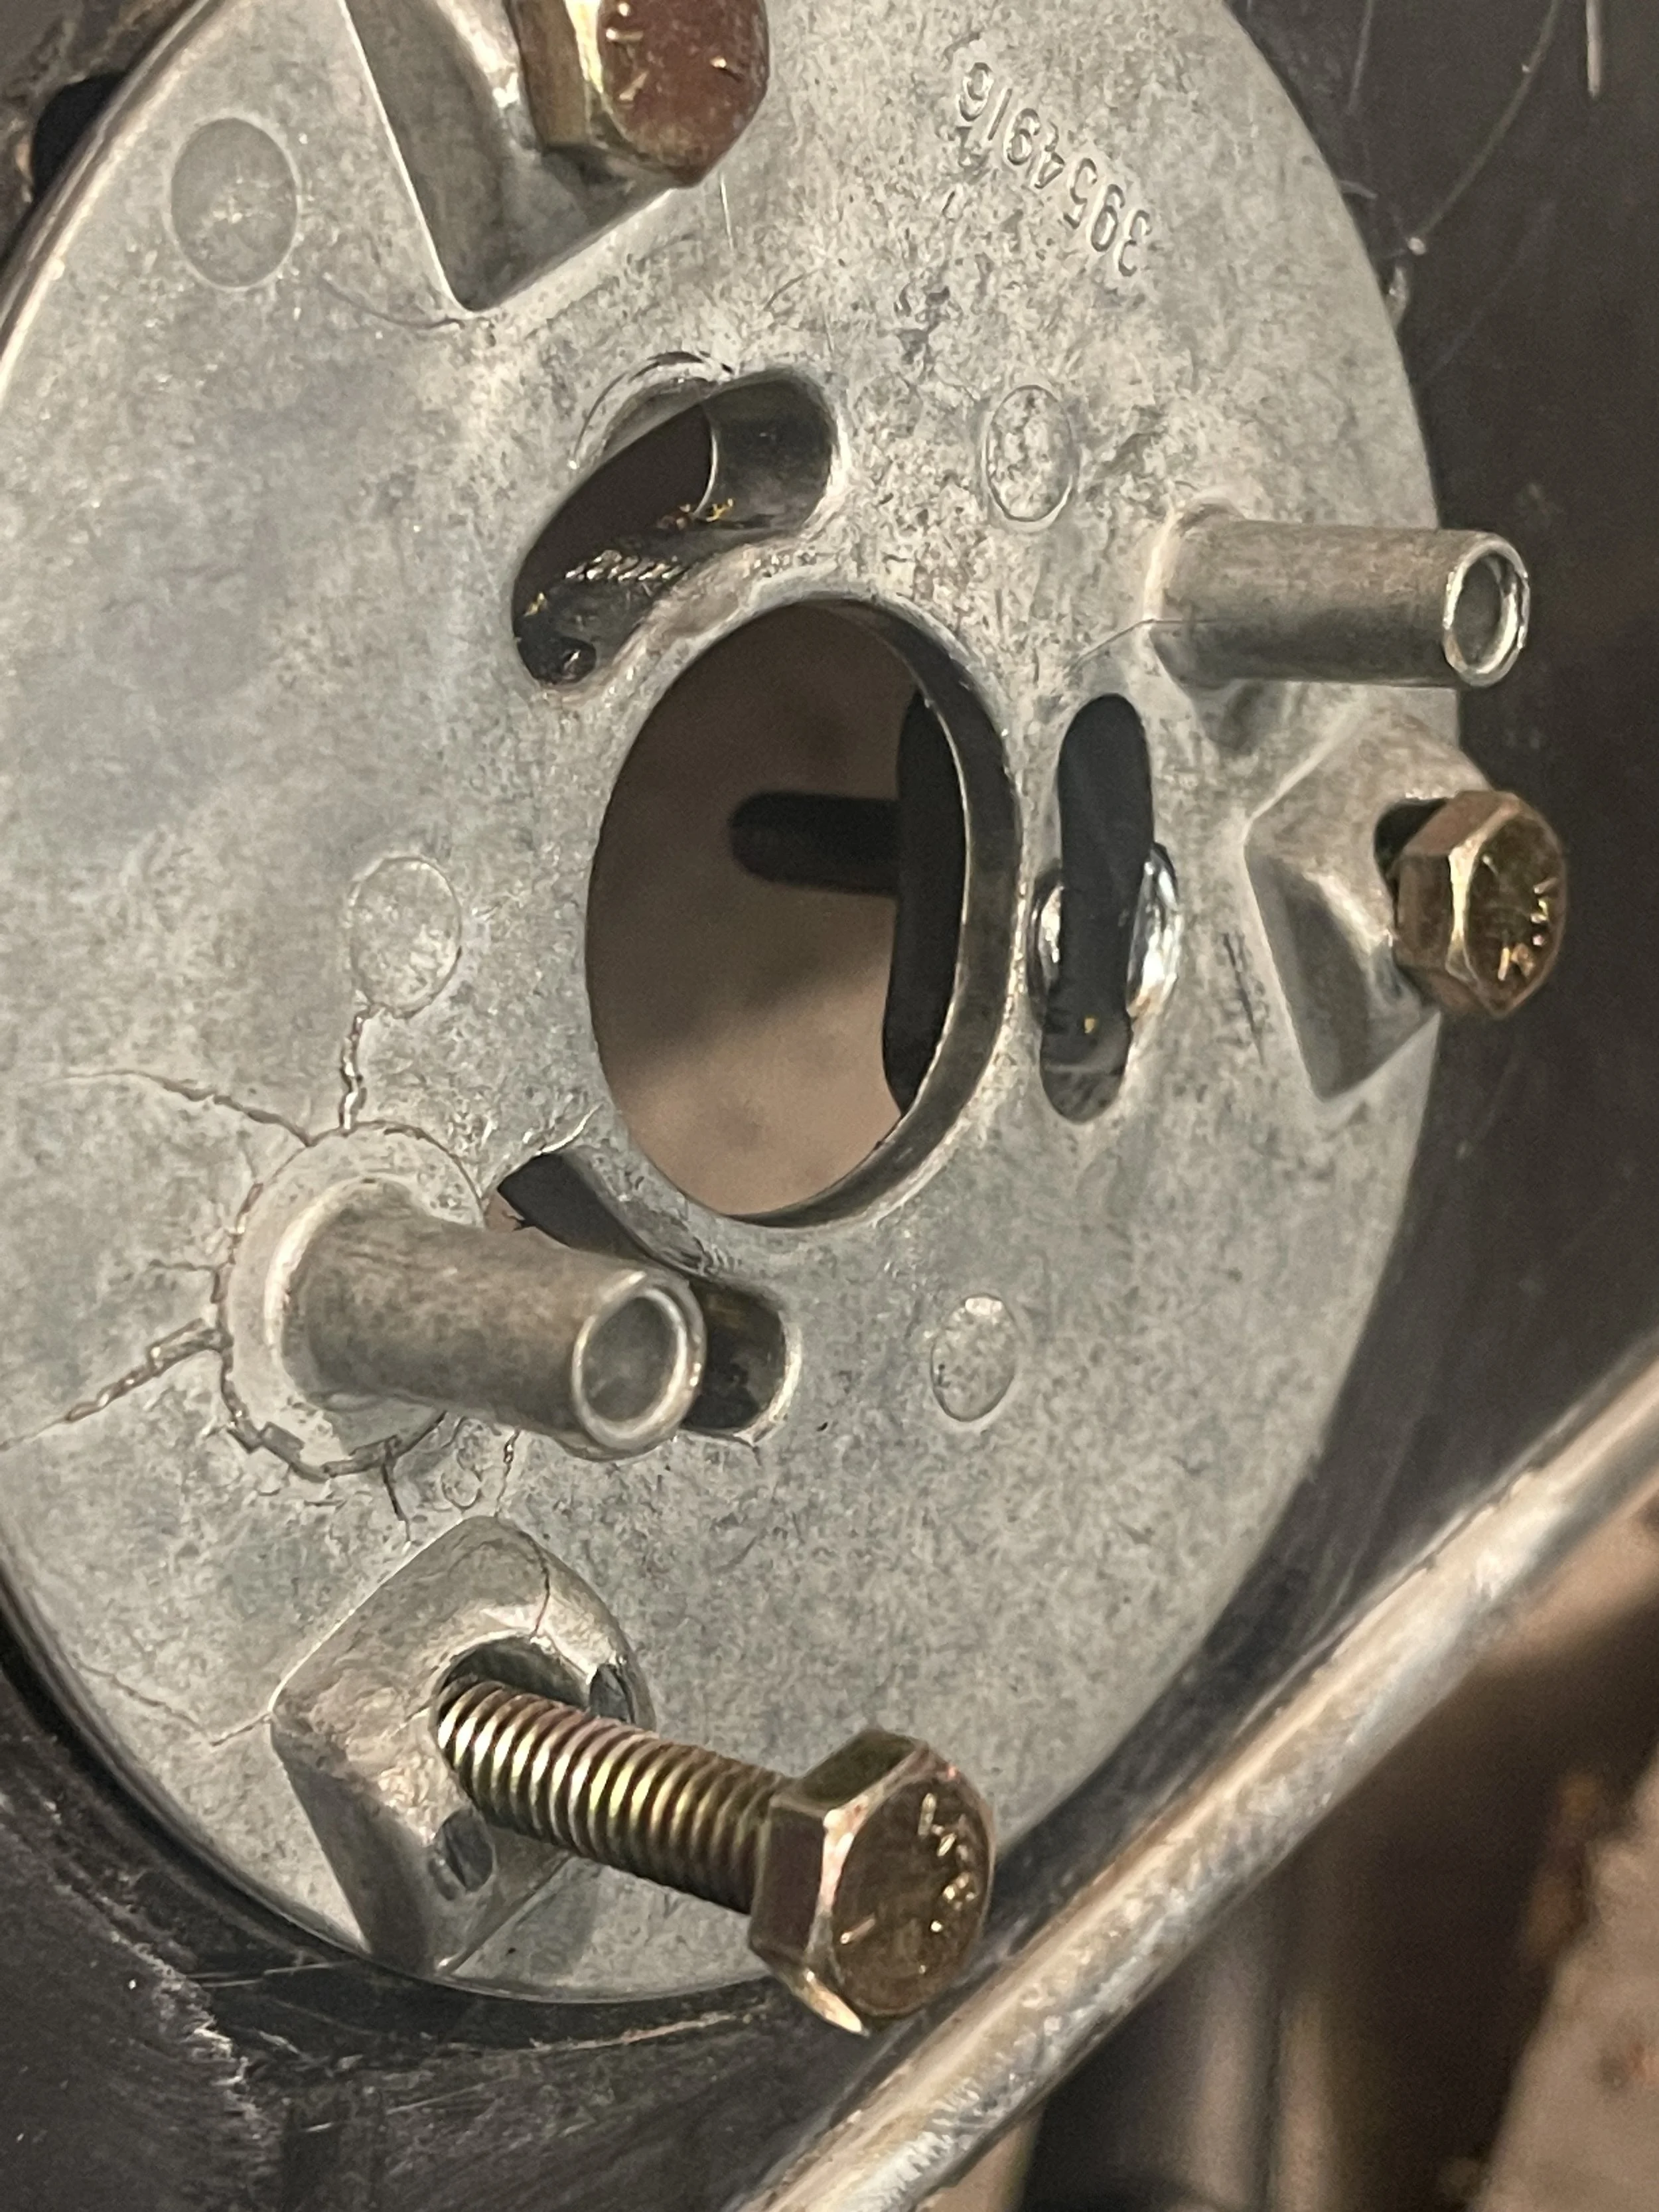
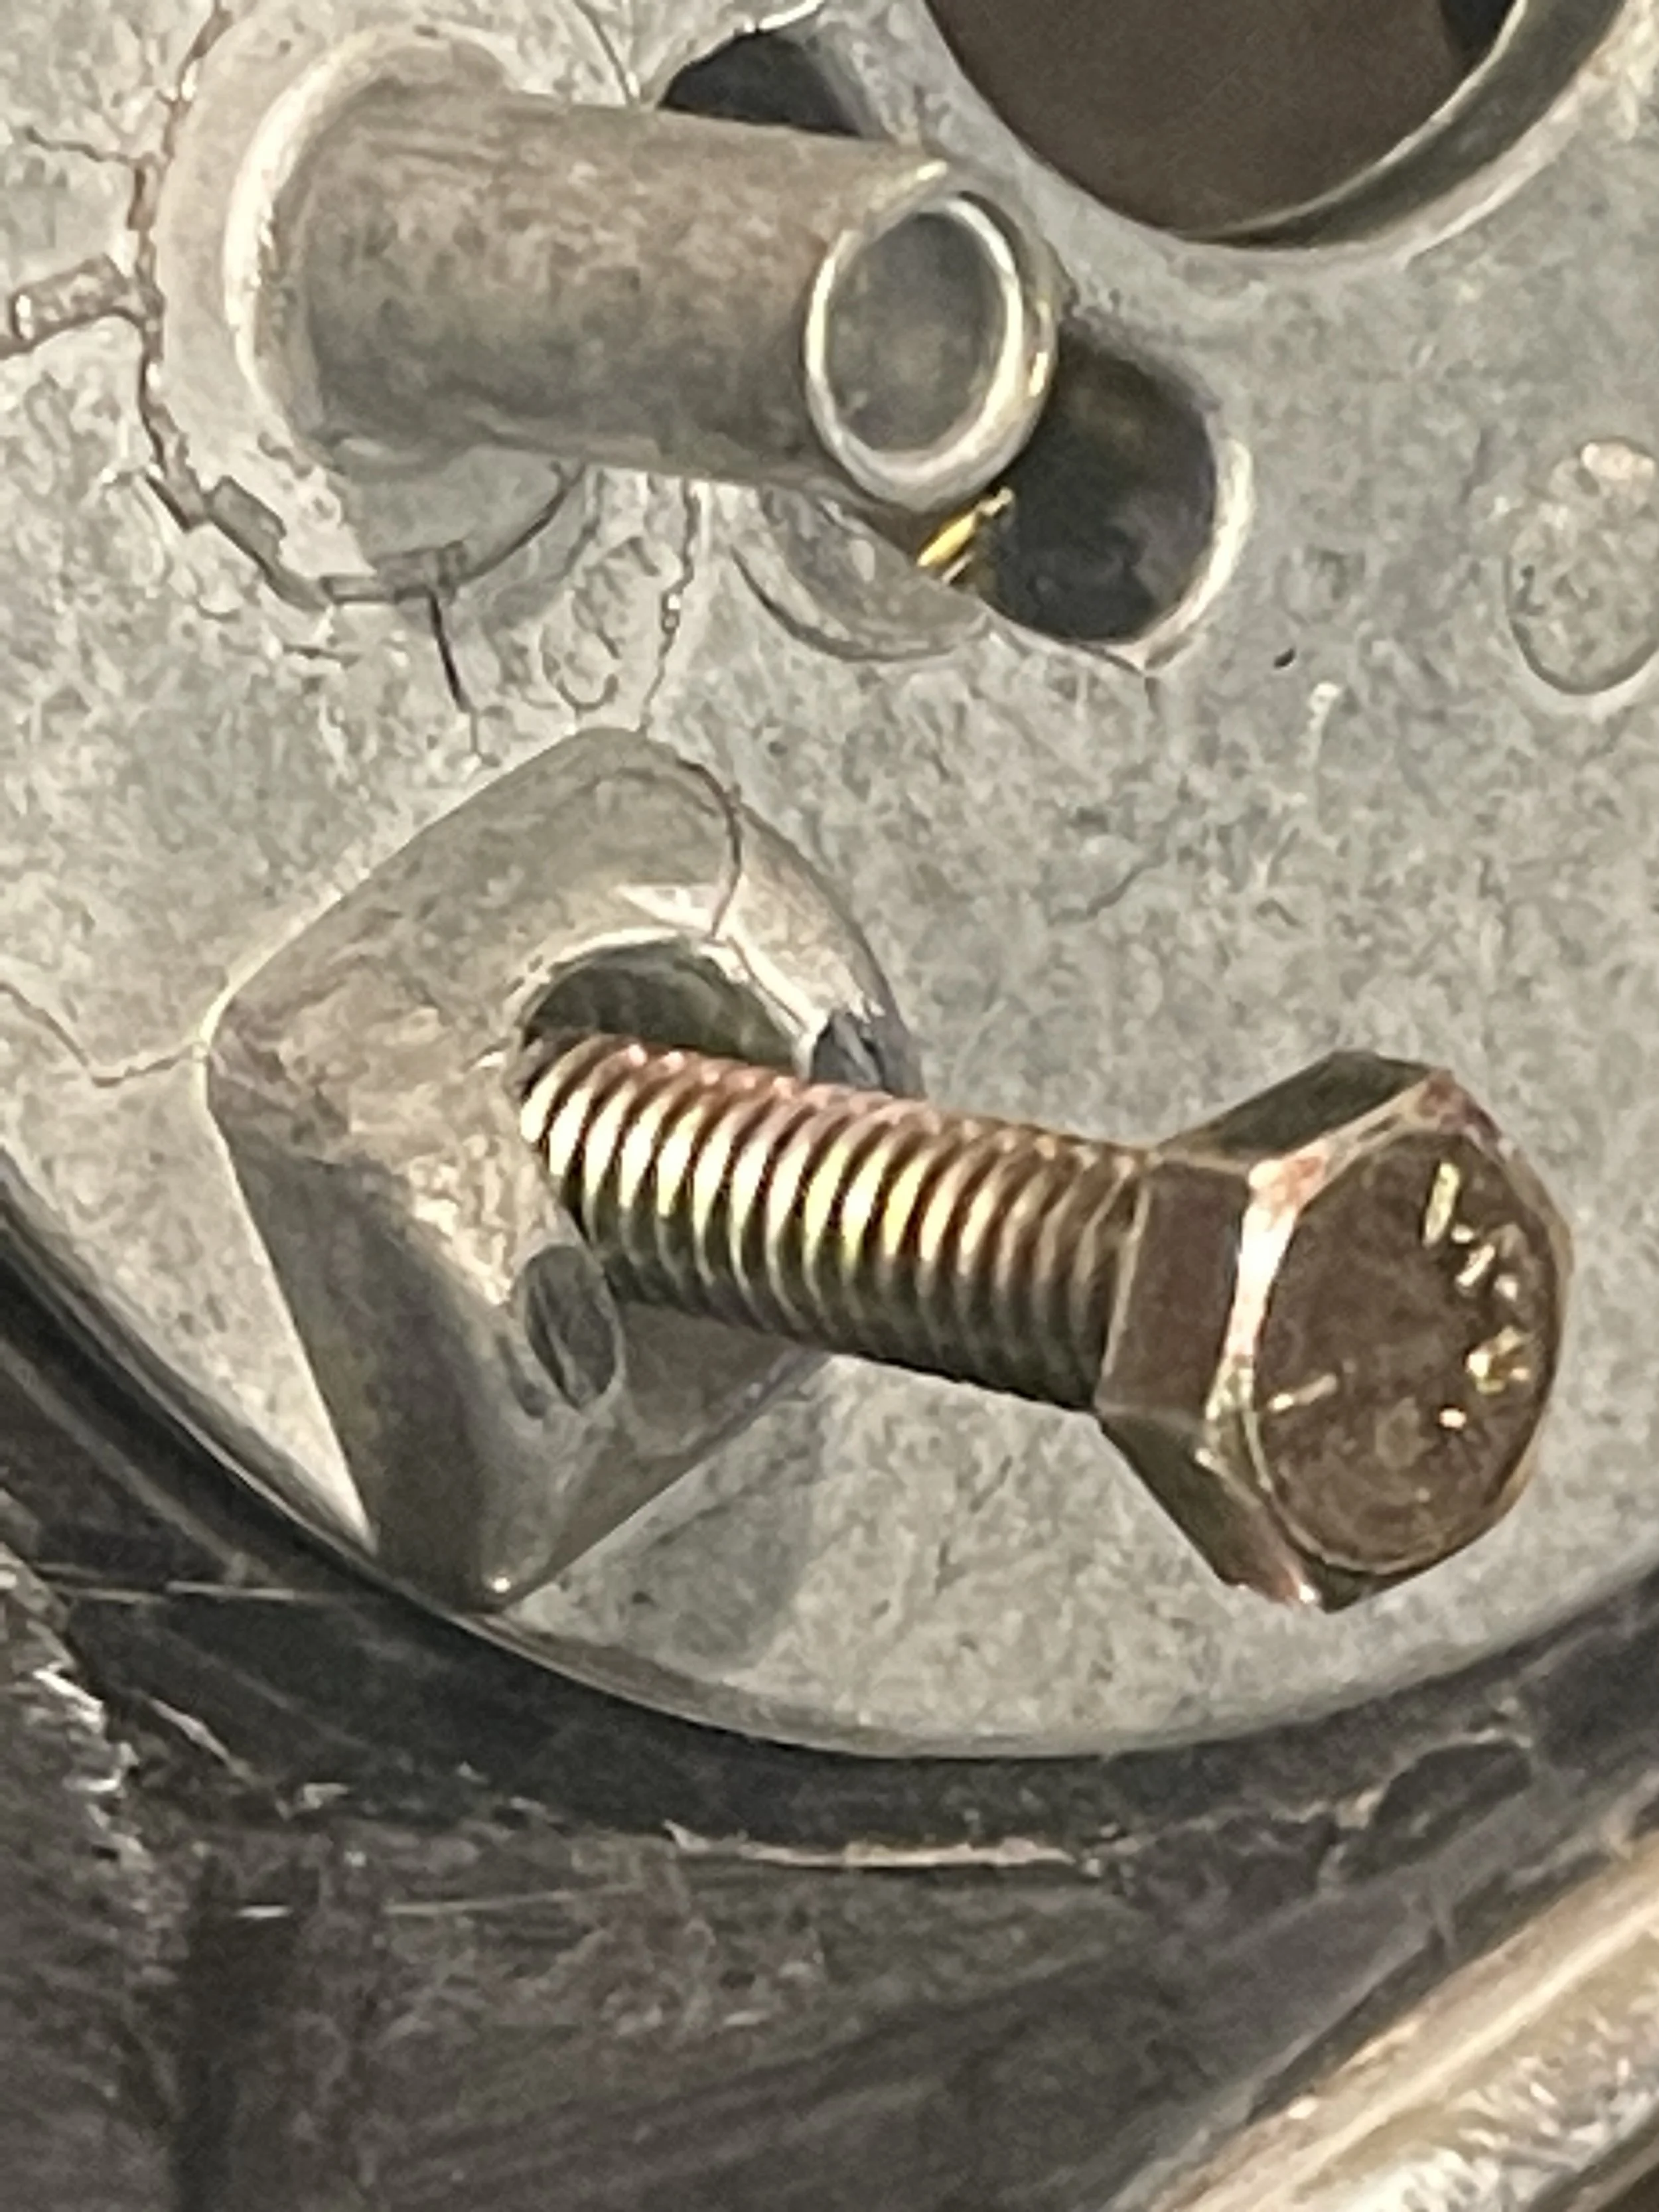
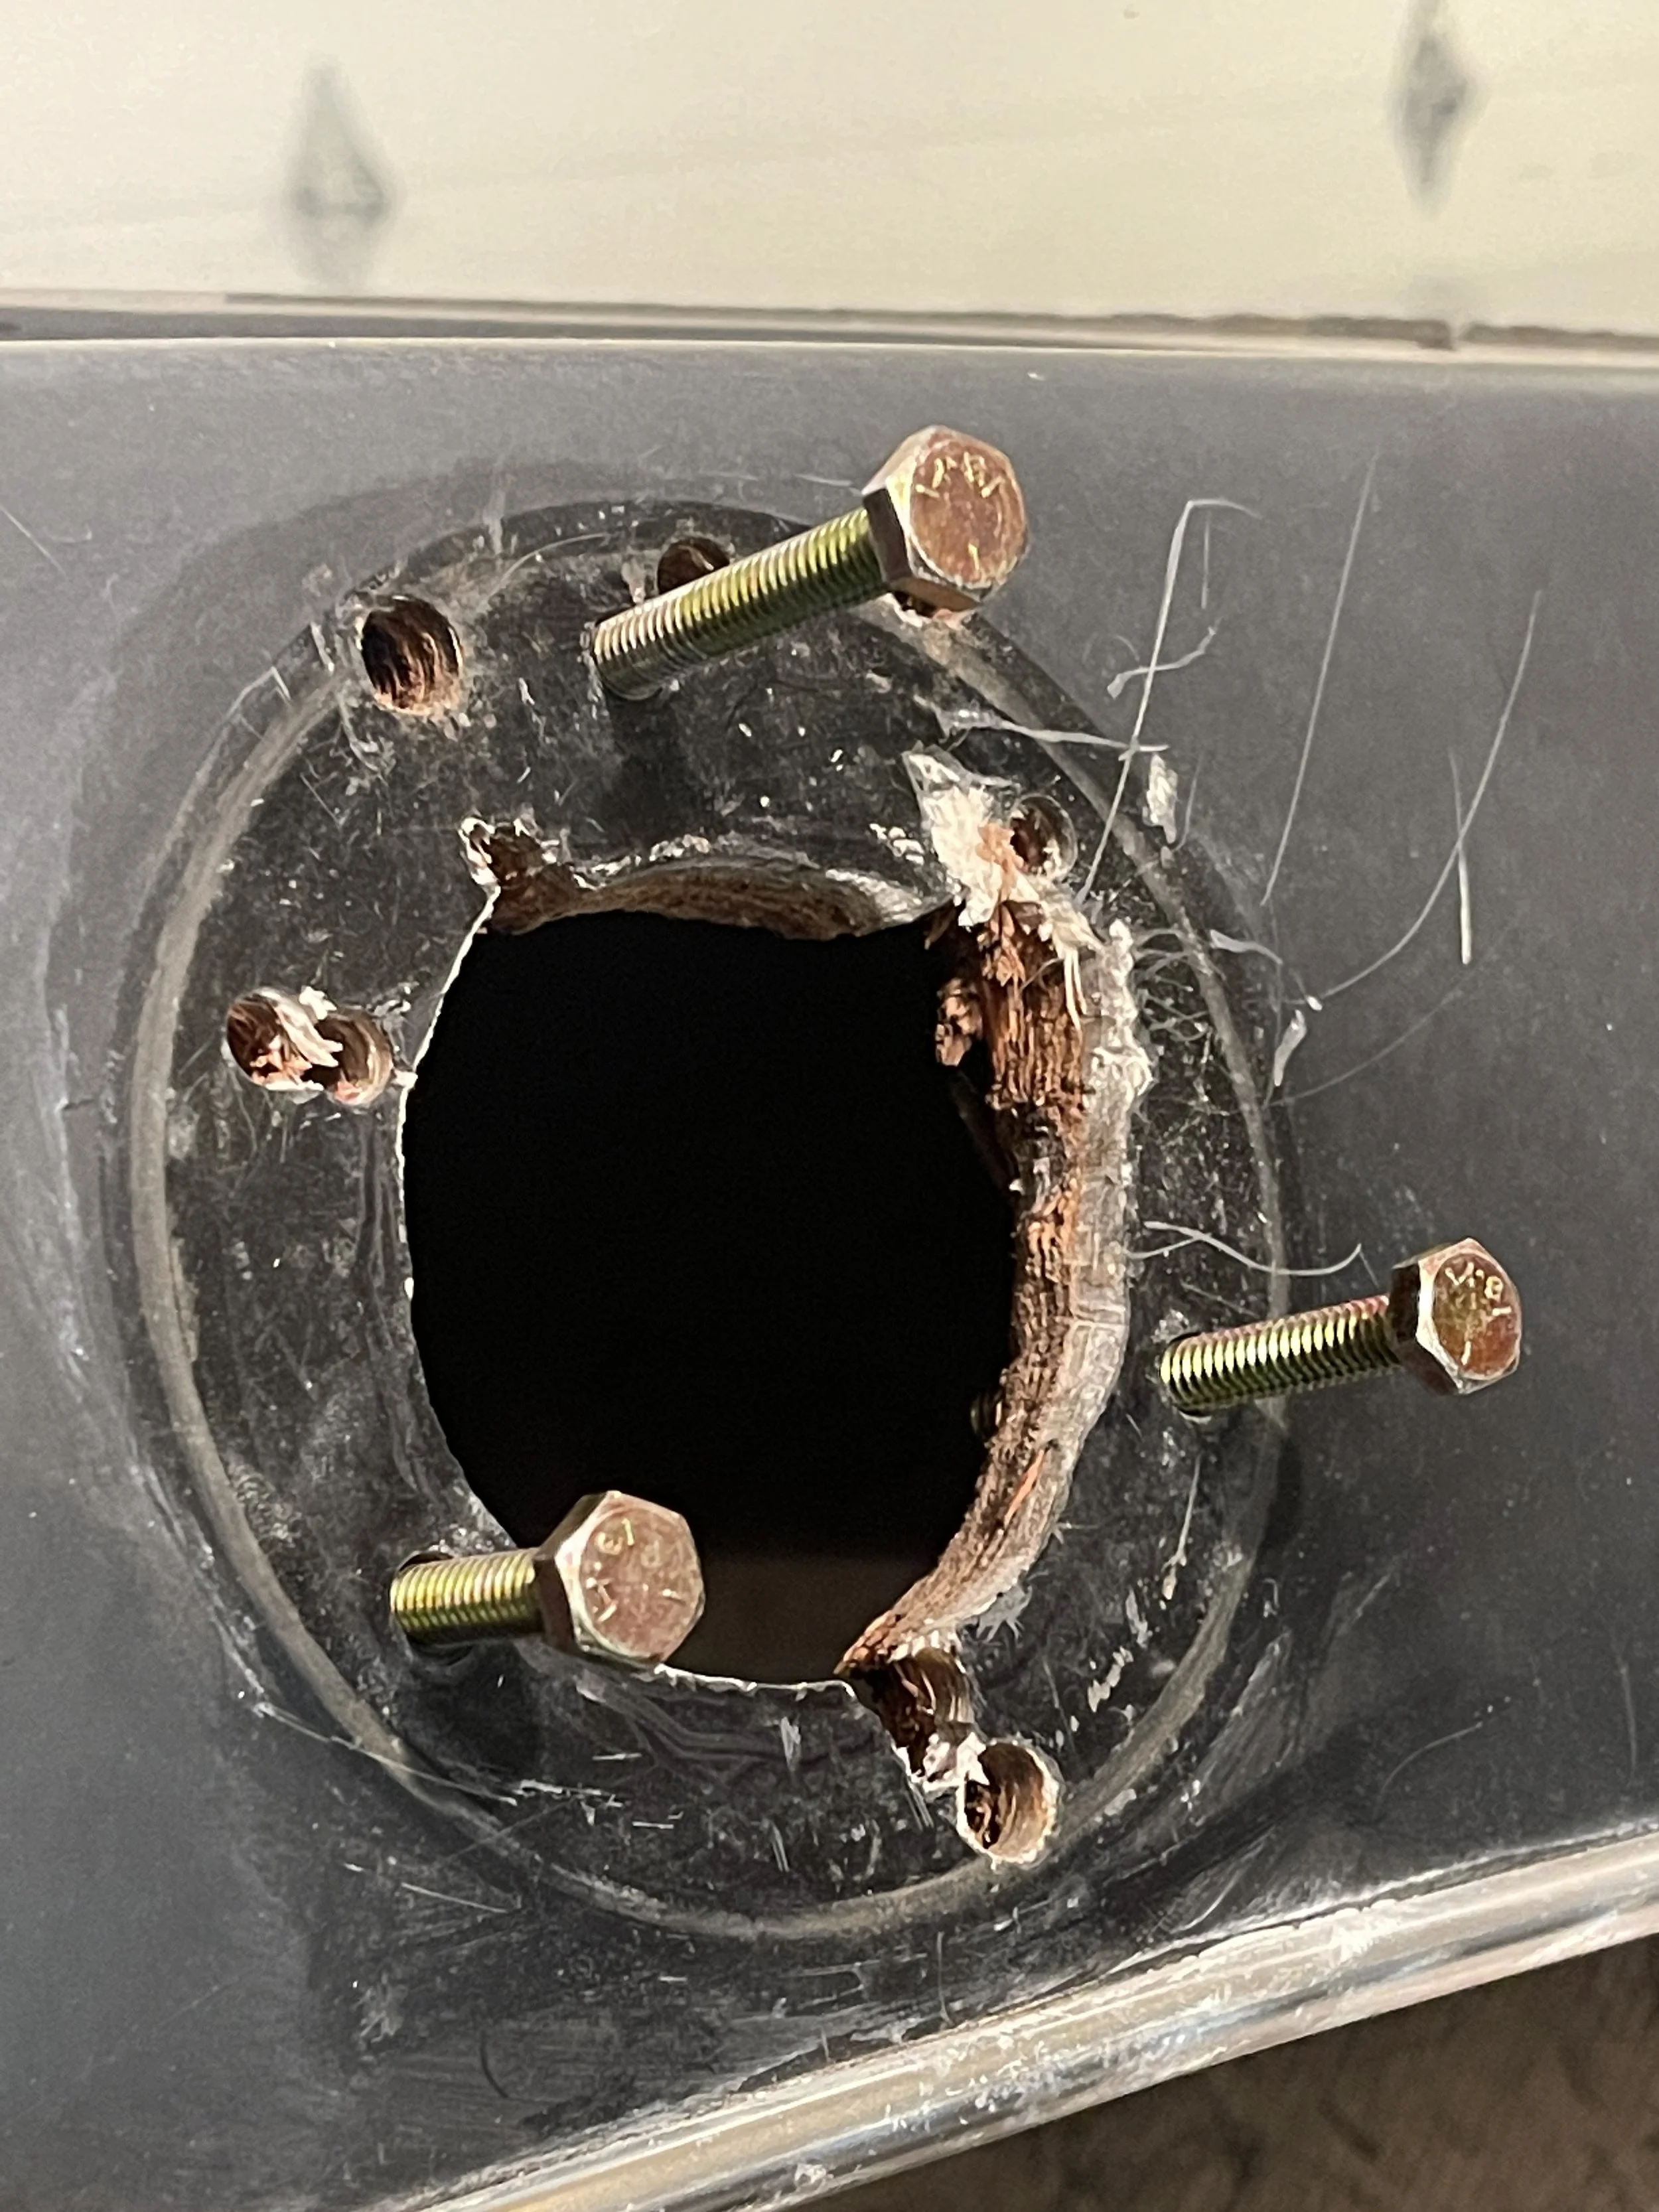
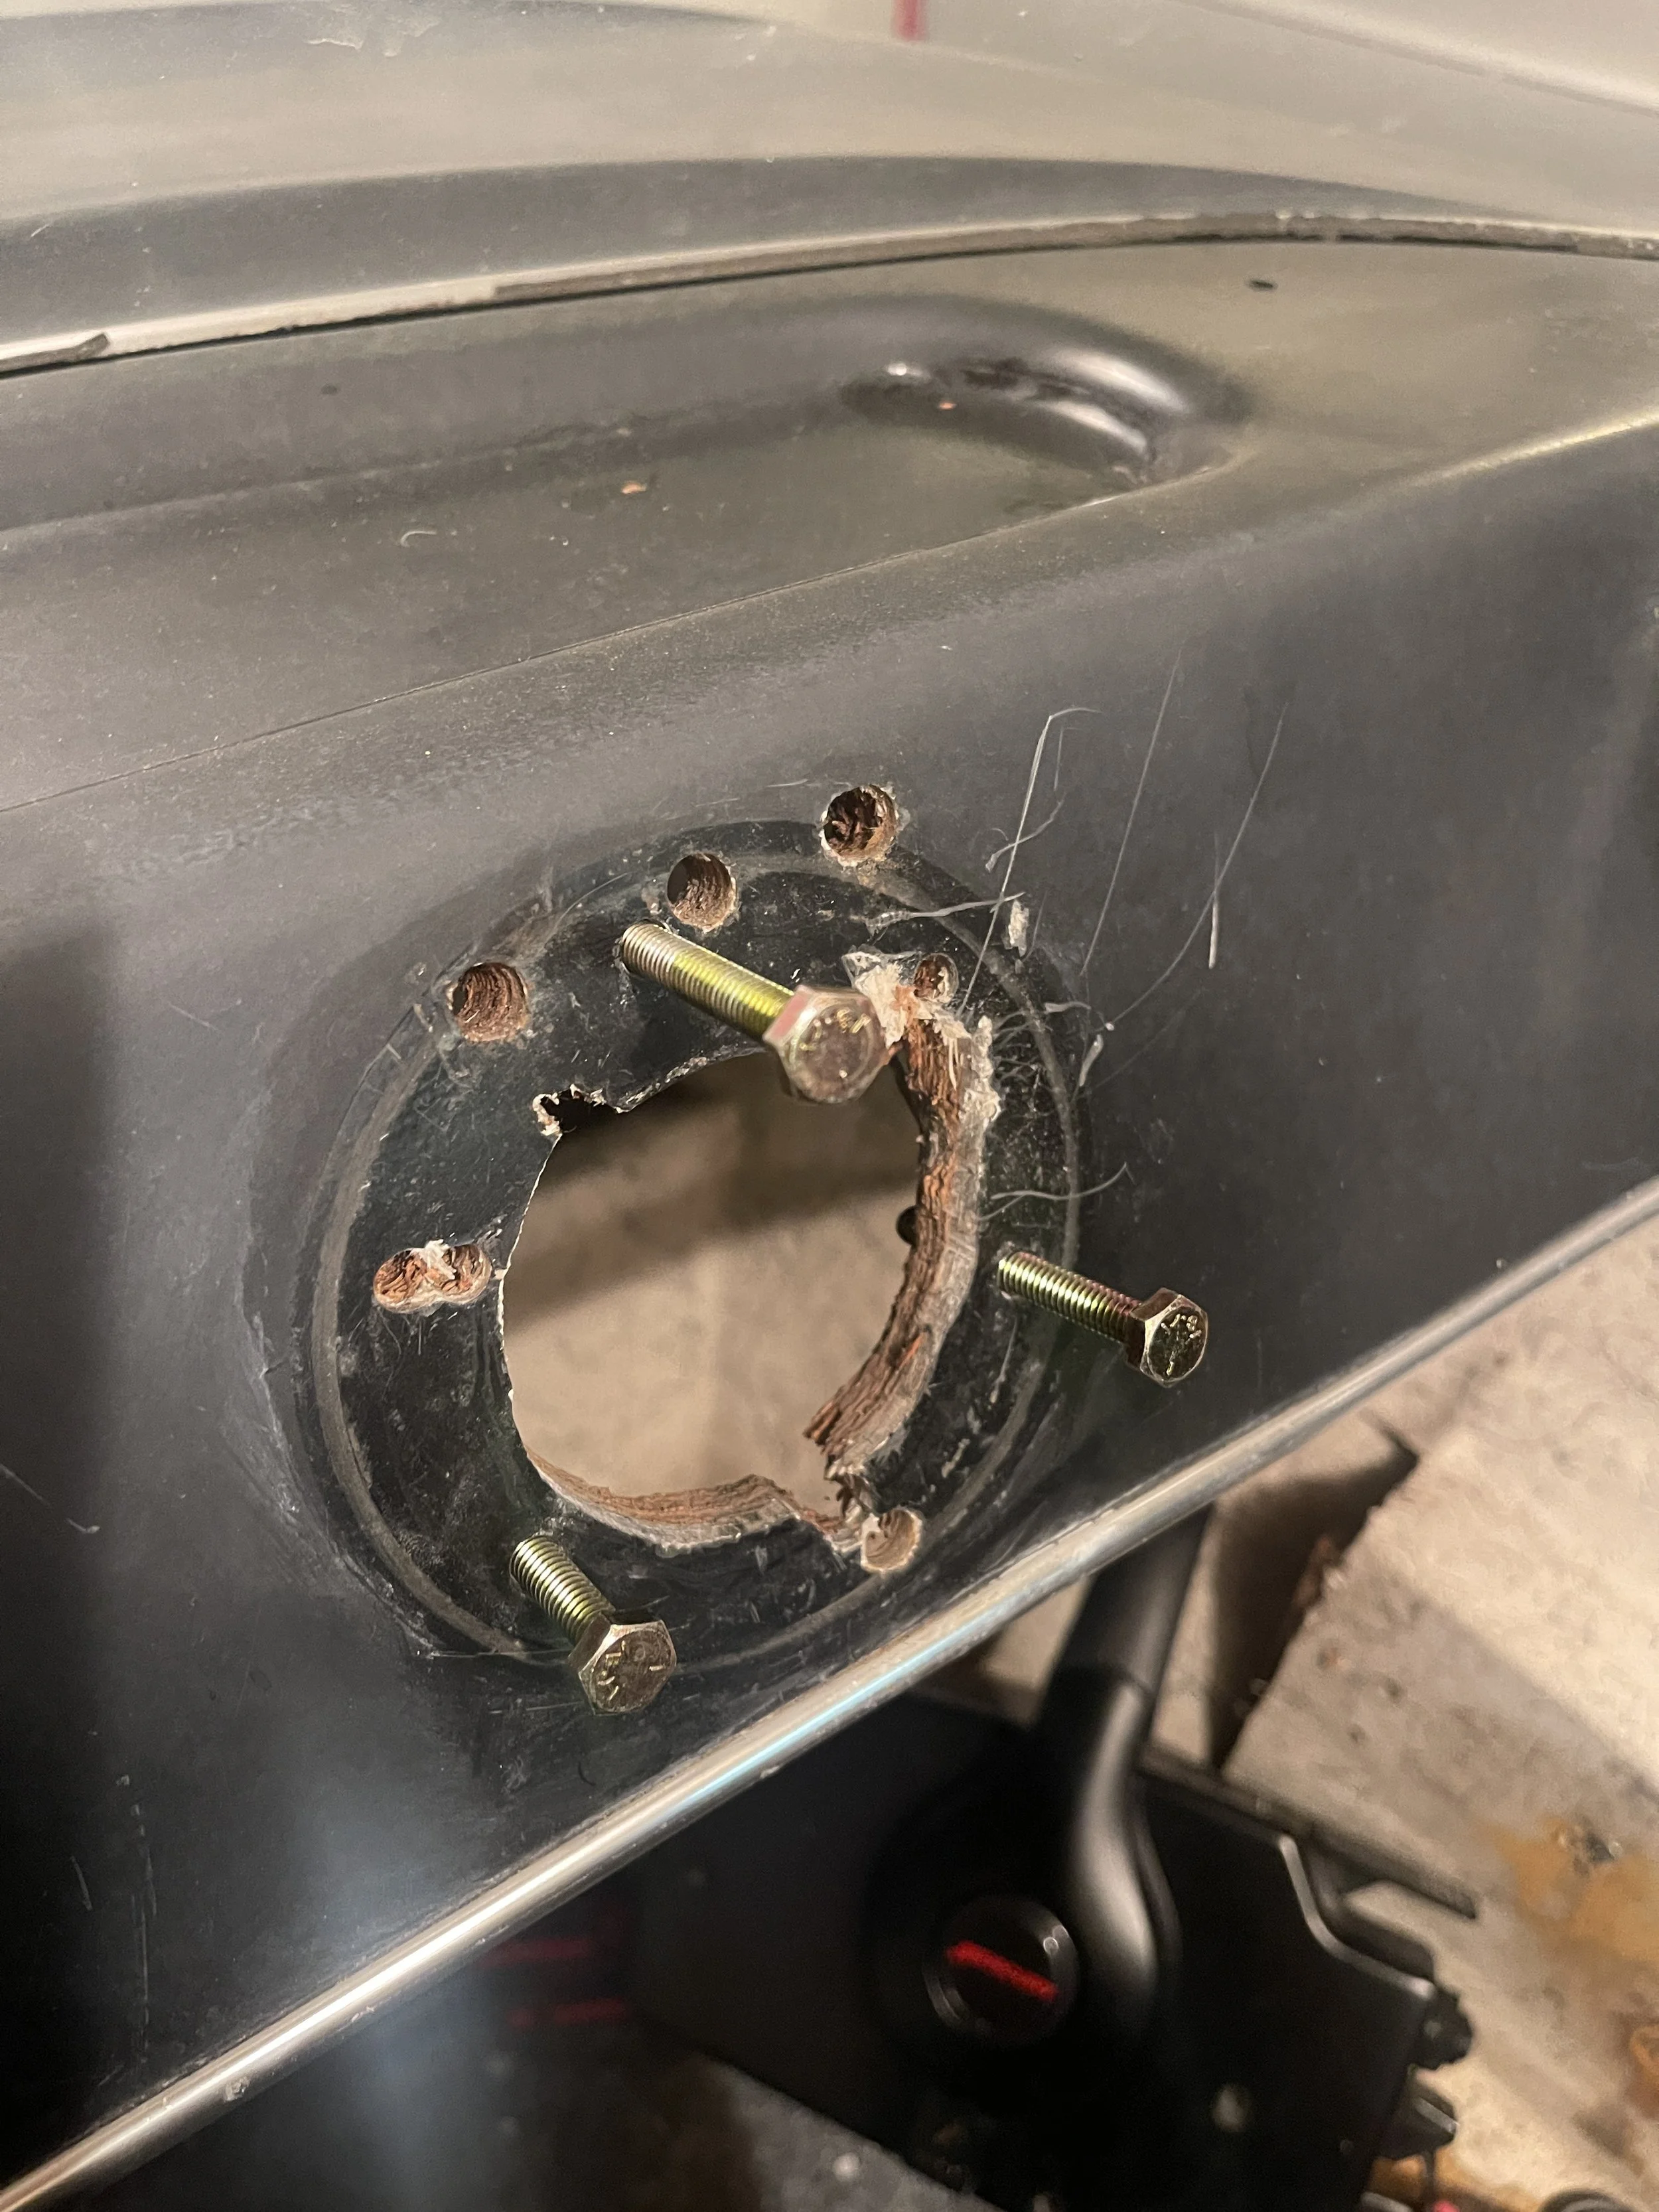
On Saturday morning I set myself to disassembly and cataloging duties. I began taking the steering system apart - being sure to keep track of each nut, bolt, washer, keyway. Judging by the amount of holes, it appears this boat has seen a few different steering systems over its lifetime.
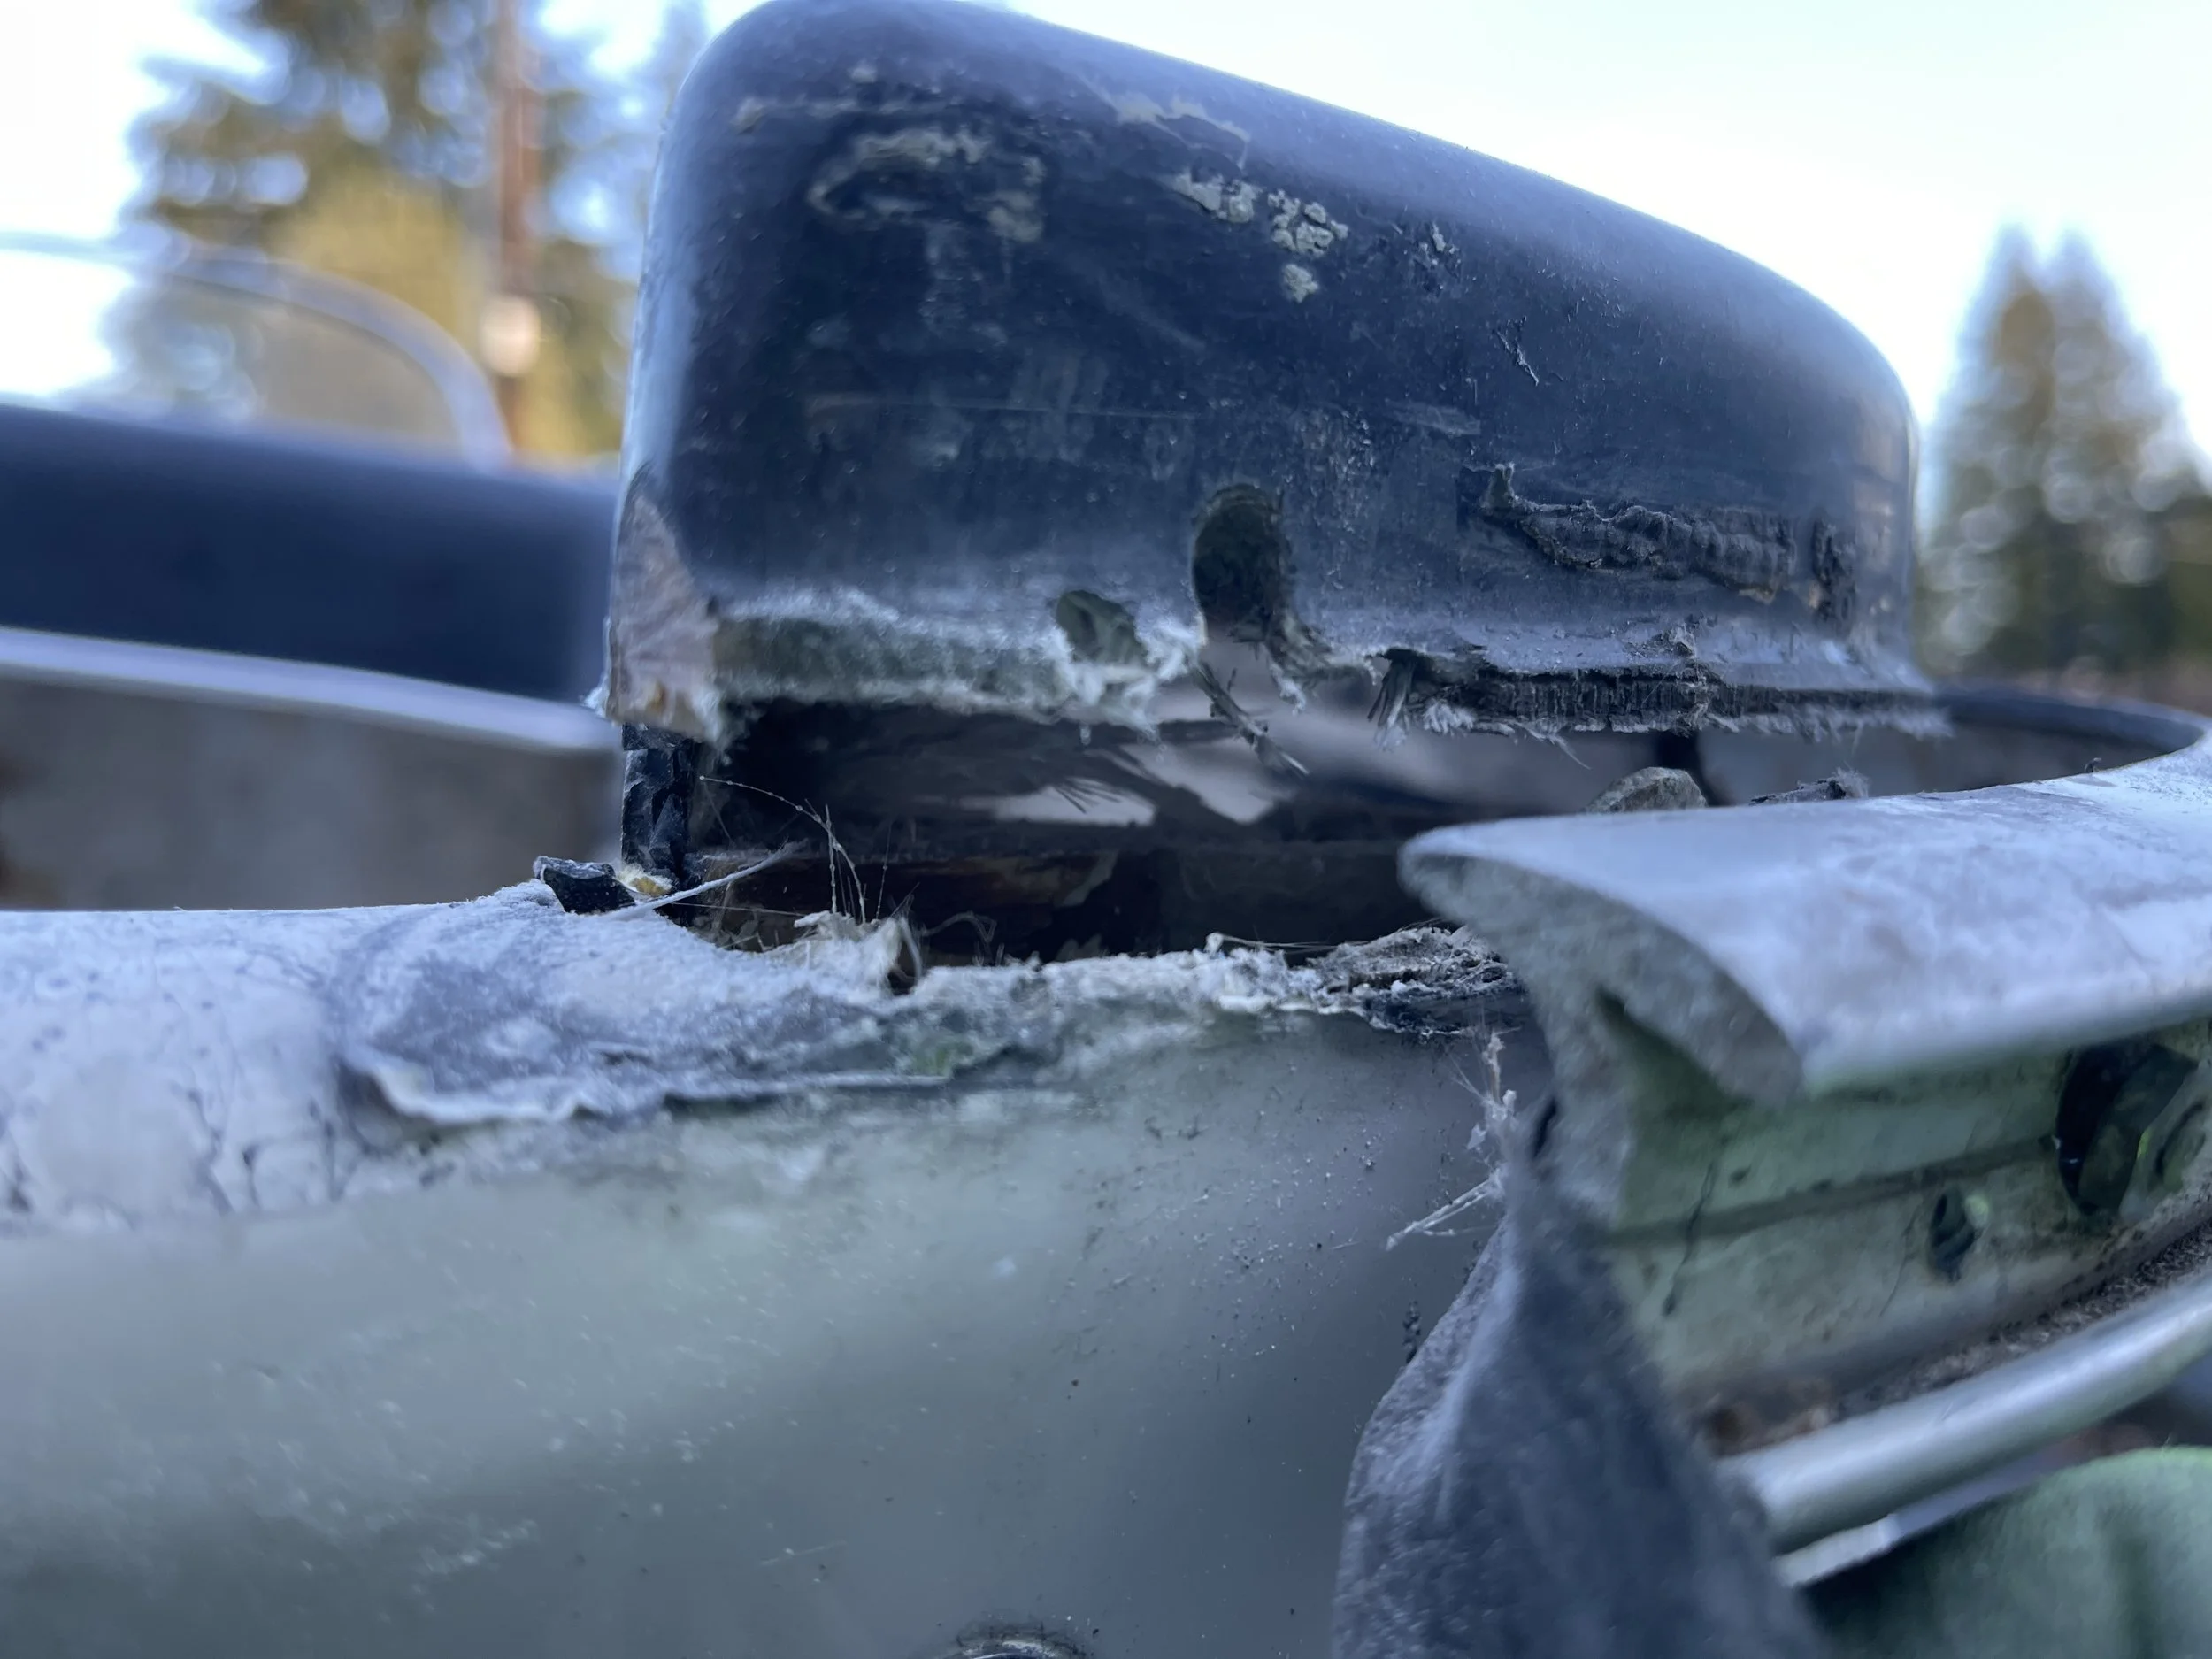
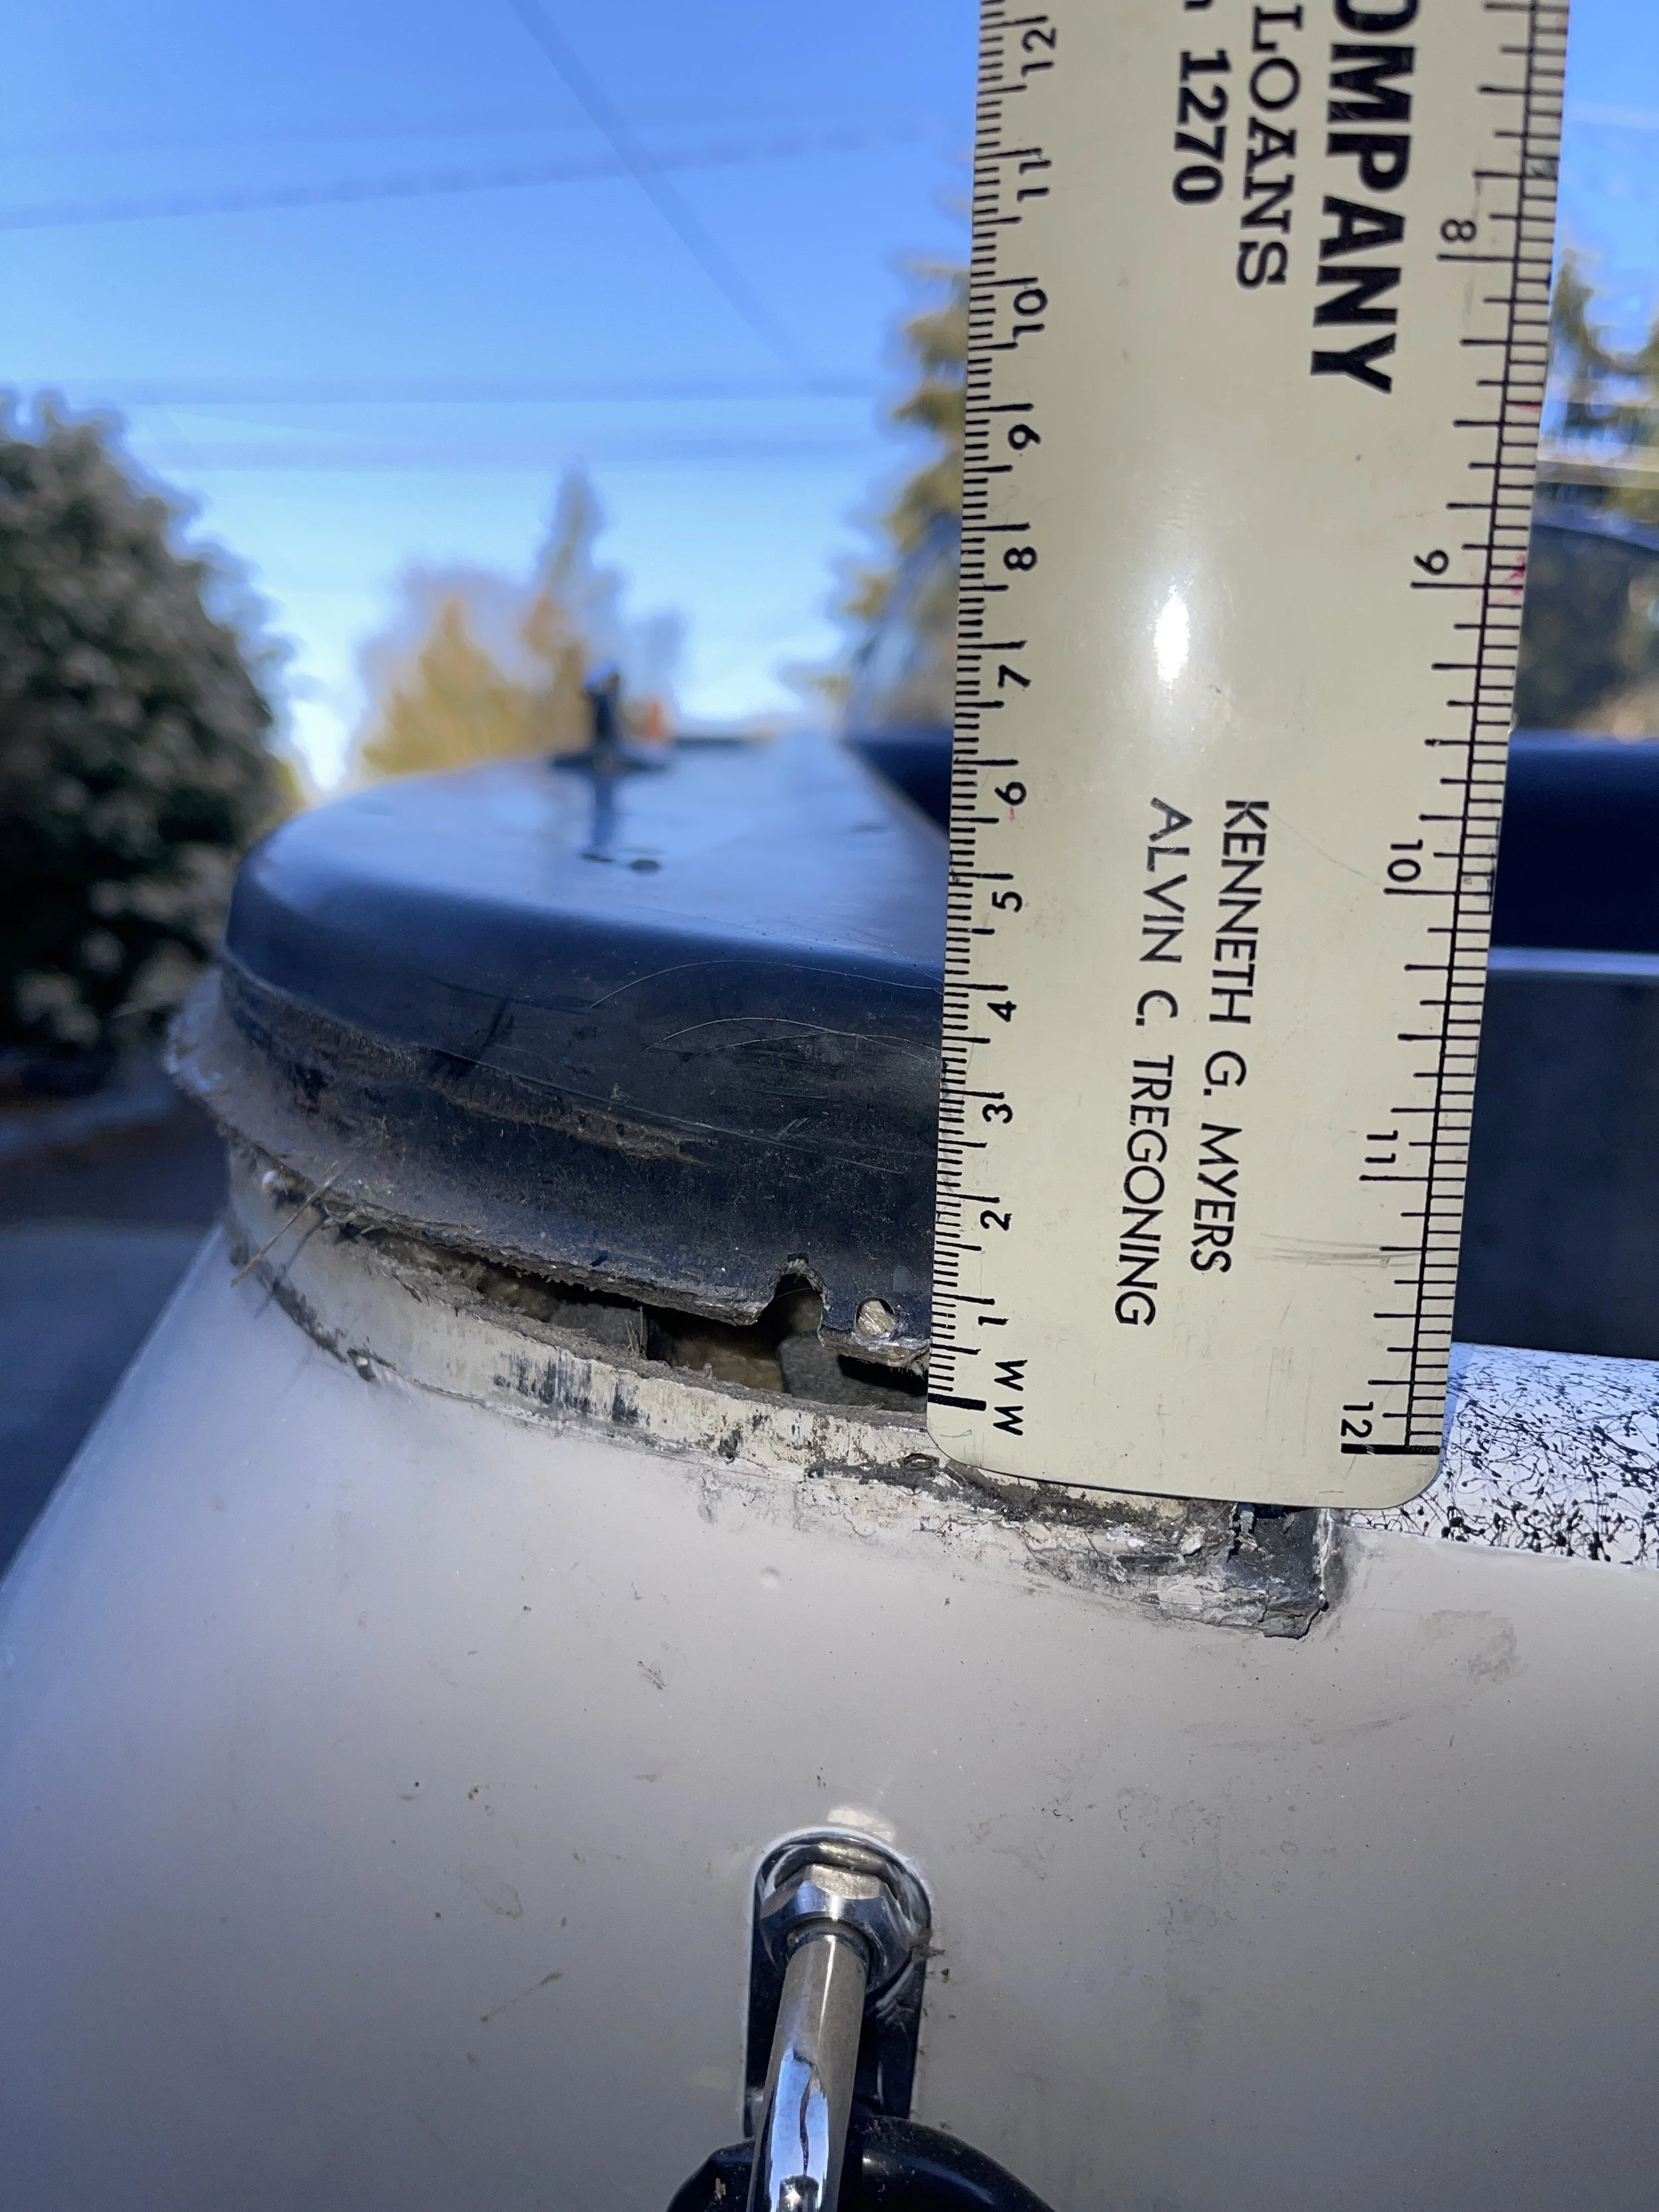
Post label-making party, I broke out the reciprocating cutting tool and set about removing the material bonding the two half of the stern together. I removed a several 6-inch sections of glass. With the two halves separated, I can almost start to lift the top away.
Next week
Time to fully separate the boat in two - exposing the floor. It will be a short week as I’m going east to see family… see you then.
Thanks.


